
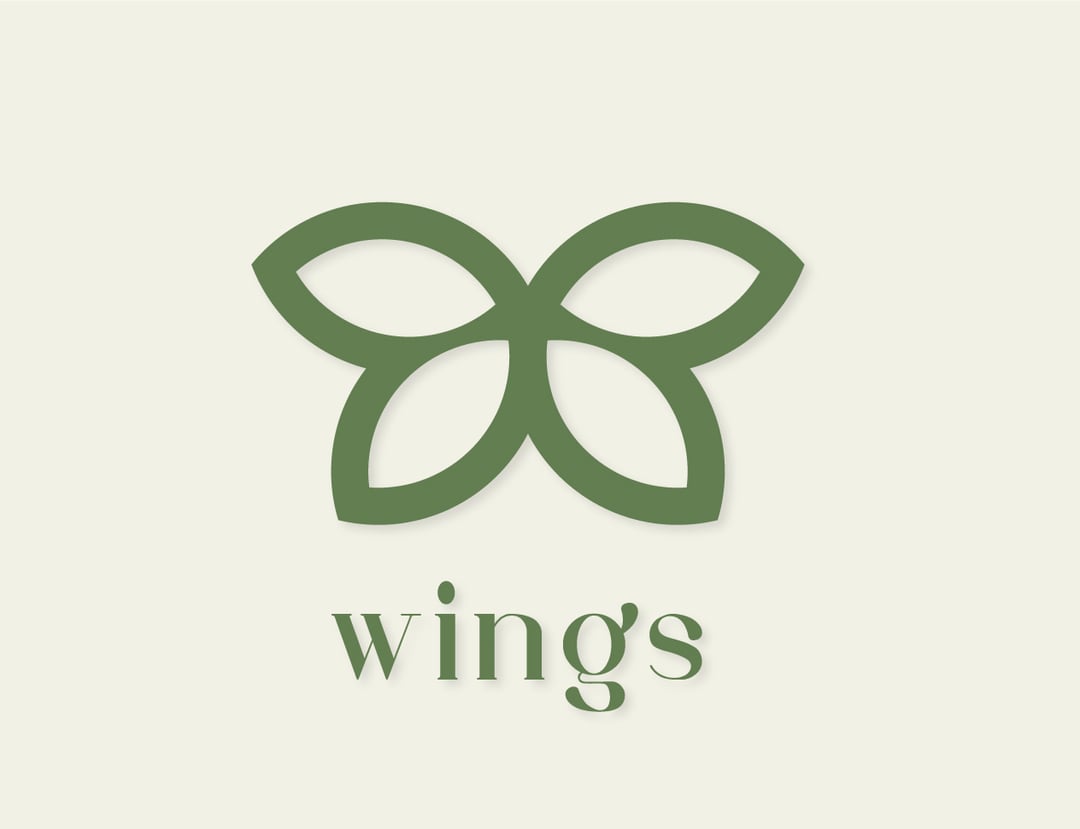
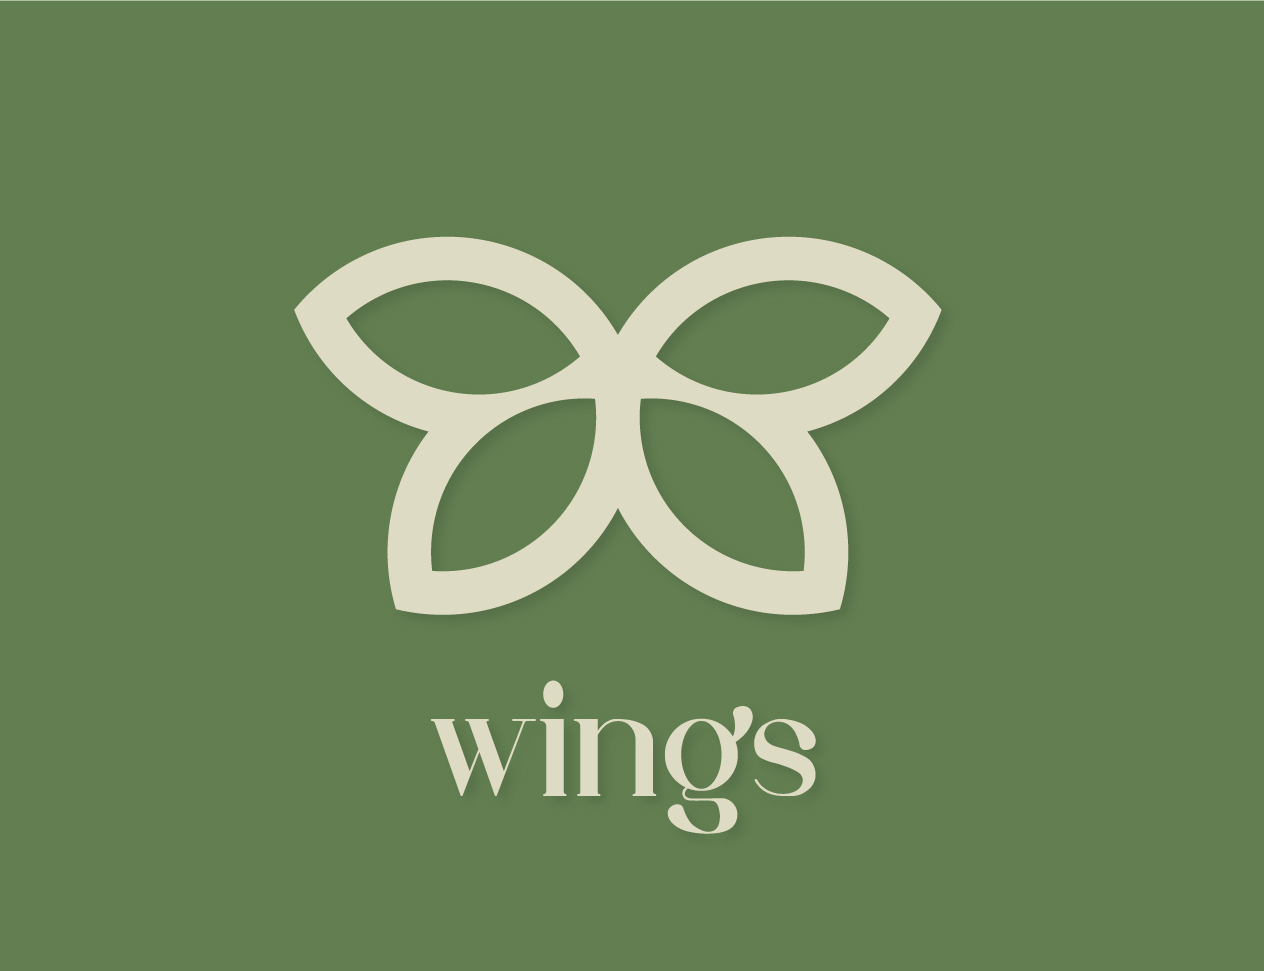
Alright, so I had this idea kicking around in my head the other day – “fonts with wings”. Sounds a bit daft, maybe, but I saw something somewhere, maybe online, maybe in a dream, I dunno, but it stuck. Letters, you know, with little wings attached. Looked pretty neat in my mind’s eye.
First thing I did was hop on the computer and search around. Thought maybe there’s just a font like that already made, right? Save myself some hassle. Found loads of stuff called Wingdings this and Wingdings that, but that wasn’t it. That’s just symbols. I wanted actual letters, like an ‘A’ or a ‘B’, but with wings sprouting off them. No luck finding a ready-made font that did exactly what I pictured.
So, okay, plan B. I figured I’d just have to make it myself. My first thought was maybe just grab some wing pictures, like clip art or something, and stick ’em onto letters in my usual design software. I use a pretty basic vector tool, nothing fancy.
Attempt number one: Sticking pictures on letters.
This was… clumsy. Seriously. I typed out a word, picked a nice bold font so it felt solid. Then I found a simple wing graphic. Tried pasting the wing next to a letter. Lining it up was a nightmare. Making it look like it actually belonged there was even harder. Every letter is shaped differently, right? So the wing that looked okay on an ‘O’ looked totally weird on an ‘L’. And scaling the wings consistently? Forget it. It just looked tacked on. Not the vibe I was going for. Plus, doing that for every single letter I needed? Nah, too much work for a messy result.
Figuring out a better way
I stepped away, made a coffee, and thought about it. The problem was the wing and the letter were separate things. What if I could make them one thing? Like, fuse them together?
Back to my vector tool. This time, I typed a letter, say, a capital ‘B’. Then, the important bit: I converted the letter into an outline or a path. You know, so it wasn’t text anymore, just a shape. A ‘B’ shape.
Then I brought in that wing graphic again. Also made sure it was a vector shape. This was key, I reckon.
- Scaled the wing way down. Took a bit of fiddling to get a size that looked right against the ‘B’.
- Played around with placing it. Tucked against the curve? Sticking out the top? Settled on having it come off the main straight stem on the left.
- Here’s the magic bit: I selected both the ‘B’ shape and the wing shape. My tool has this function, sometimes called pathfinder or boolean operations, lets you merge shapes together. I hit the ‘unite’ or ‘weld’ button.
And bam! The wing was now part of the ‘B’. One single, solid shape. A ‘B’ with a wing fused right onto it. Looked much cleaner, much more intentional.
Okay, now we were getting somewhere. It still meant doing this process for every letter I wanted to give wings to. Yeah, it was still manual work. Definitely not like creating a real font file you can just type with. But for creating a specific word or a logo, like for a little project I was thinking about, this worked great.
I did a few more letters this way. Tried different wing positions, even different simple wing styles. Some looked better than others. Simple, bold fonts definitely worked best. Trying this on some swirly, thin font was just asking for trouble.
So, that was my little adventure into making fonts with wings. It wasn’t a quick fix, and it wasn’t about making a typeable font file in the end. It was more about custom graphics. But I got the look I wanted. Learned a bit more about messing with vector shapes too, which is always good. Took a bit of trial and error, but the end result felt pretty unique, and that’s what I was after.