
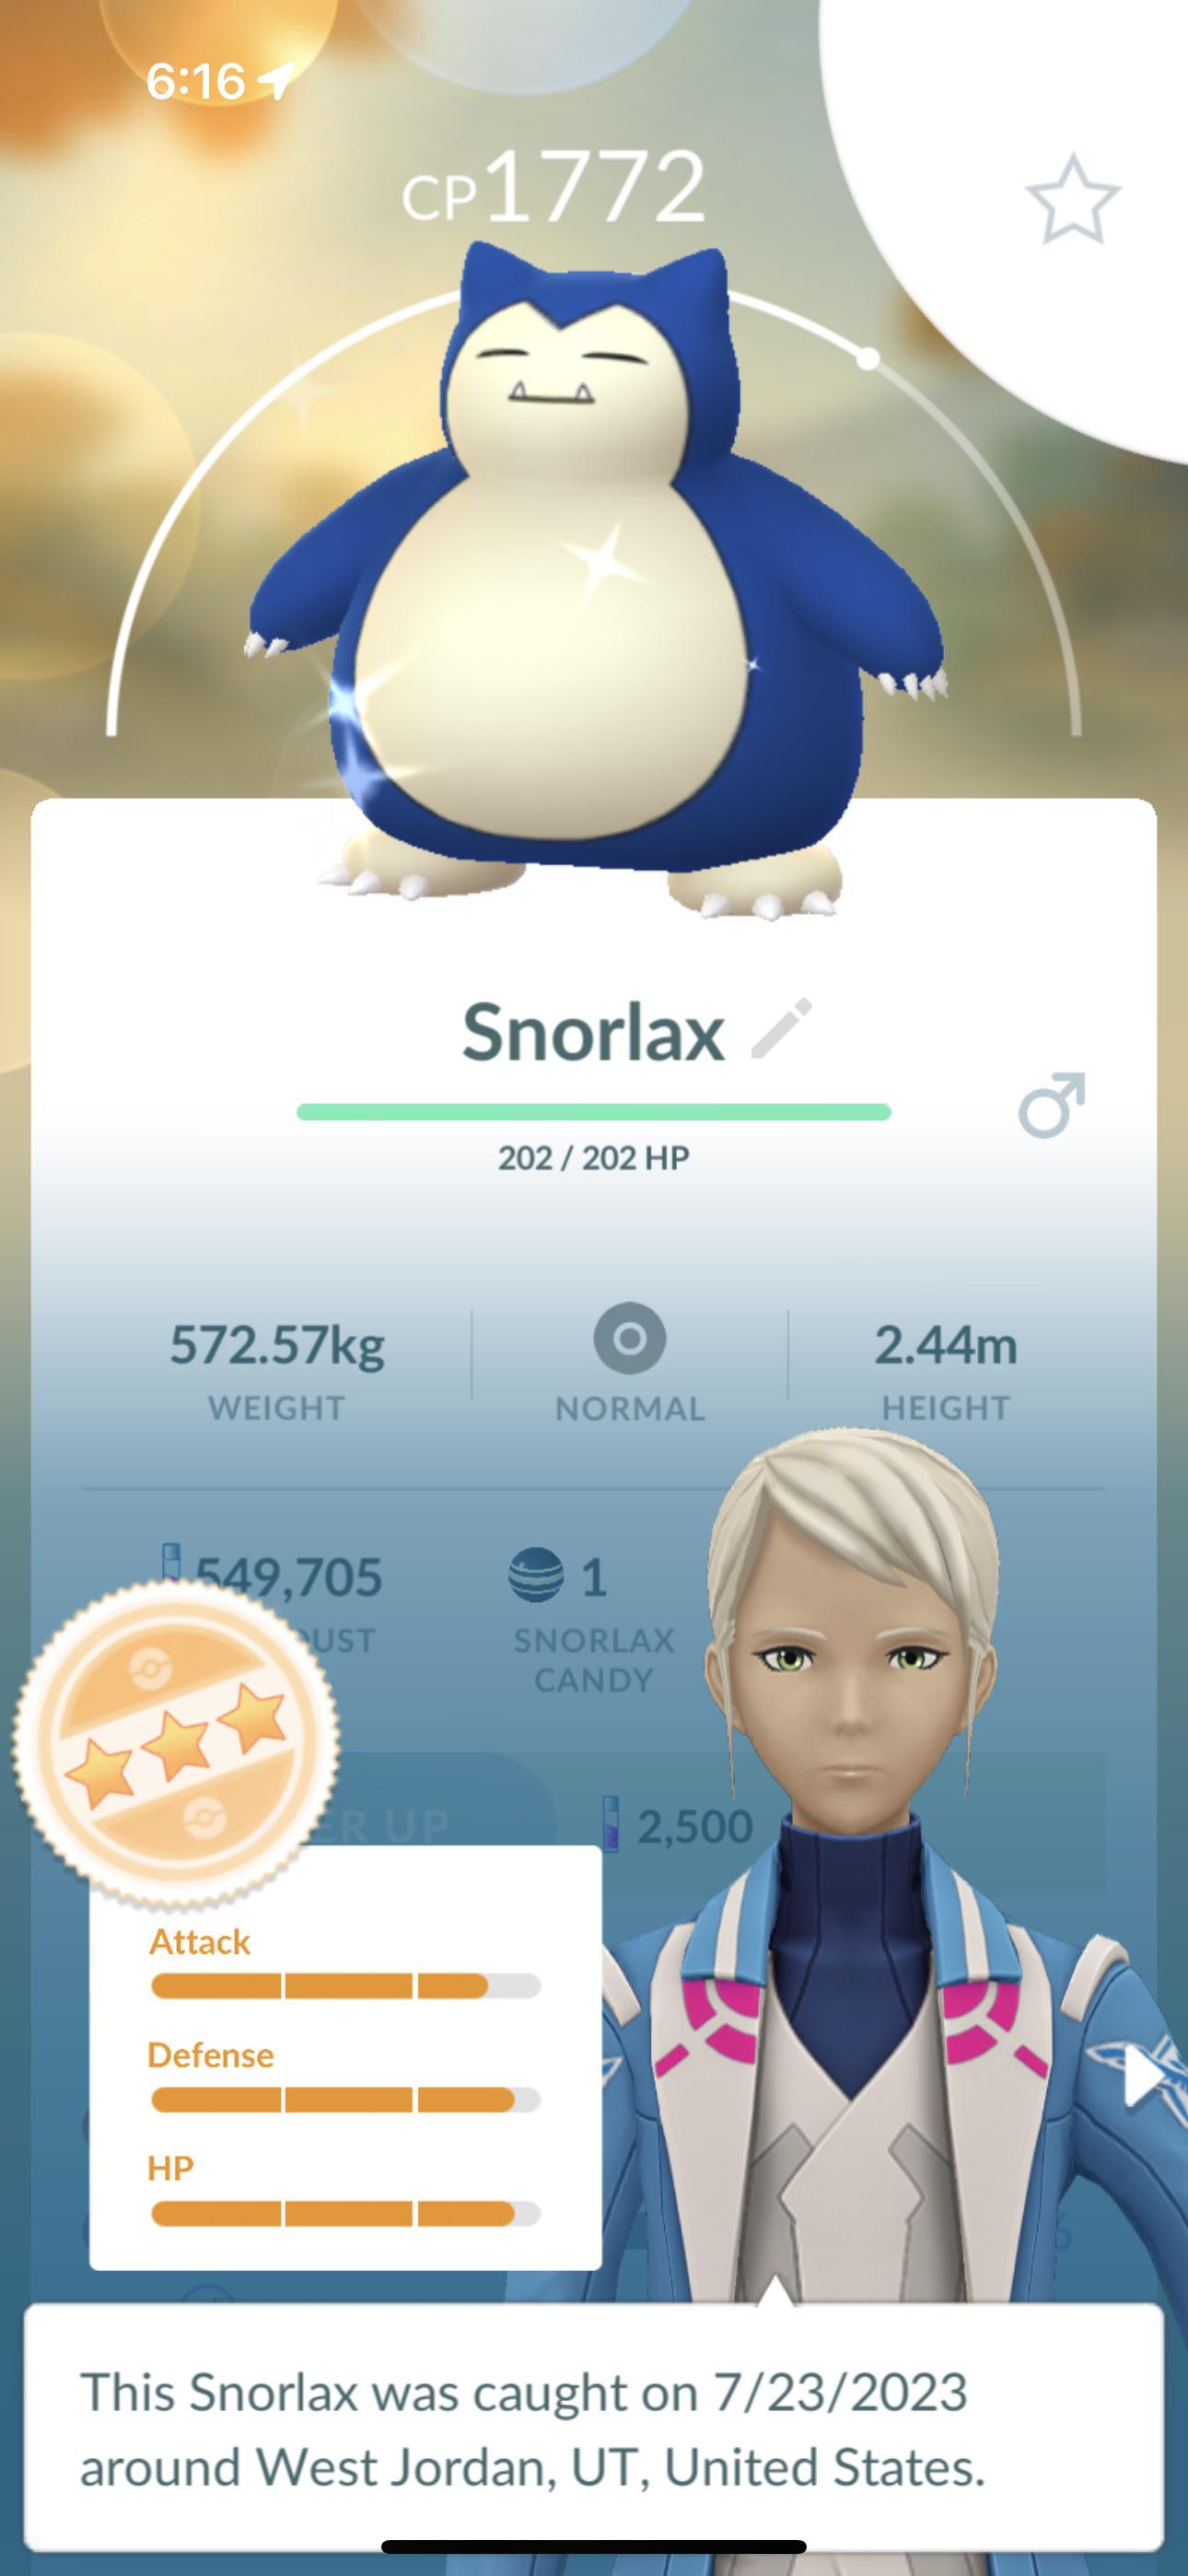
Okay, so today I wanted to try something a little different and fun. I’ve been playing a lot of Pokemon lately, and I got it into my head: I need to make a shiny Snorlax in my own way. Not in the game – I wanted to build something, like, actually build something.
Brainstorming and Planning
First things first, I needed a plan. What did I even mean by “making” a Snorlax? Was I going to sculpt one? Sew one? The possibilities were kinda overwhelming. I spent a good hour just scrolling through images of Snorlax, trying to figure out what material would best capture that, you know, Snorlax-ness.
I decided against sculpting. I’m terrible with clay. Sewing seemed promising, but a giant plush Snorlax would take forever, and I wanted something I could finish in a day or two.
Then it hit me: I had a ton of leftover Perler beads from a previous project. Those little plastic things you iron together. Perfect! I could do a pixel-art style Snorlax.
Gathering the Goods
So, I dug out my Perler bead stash. It was a mess. Seriously, colors everywhere. I spent a good chunk of time just sorting beads into little containers. I found my big ironing board and the special paper you need. I also grabbed a pegboard – the thing you put the beads on to make your design.
The Pixel Art Process
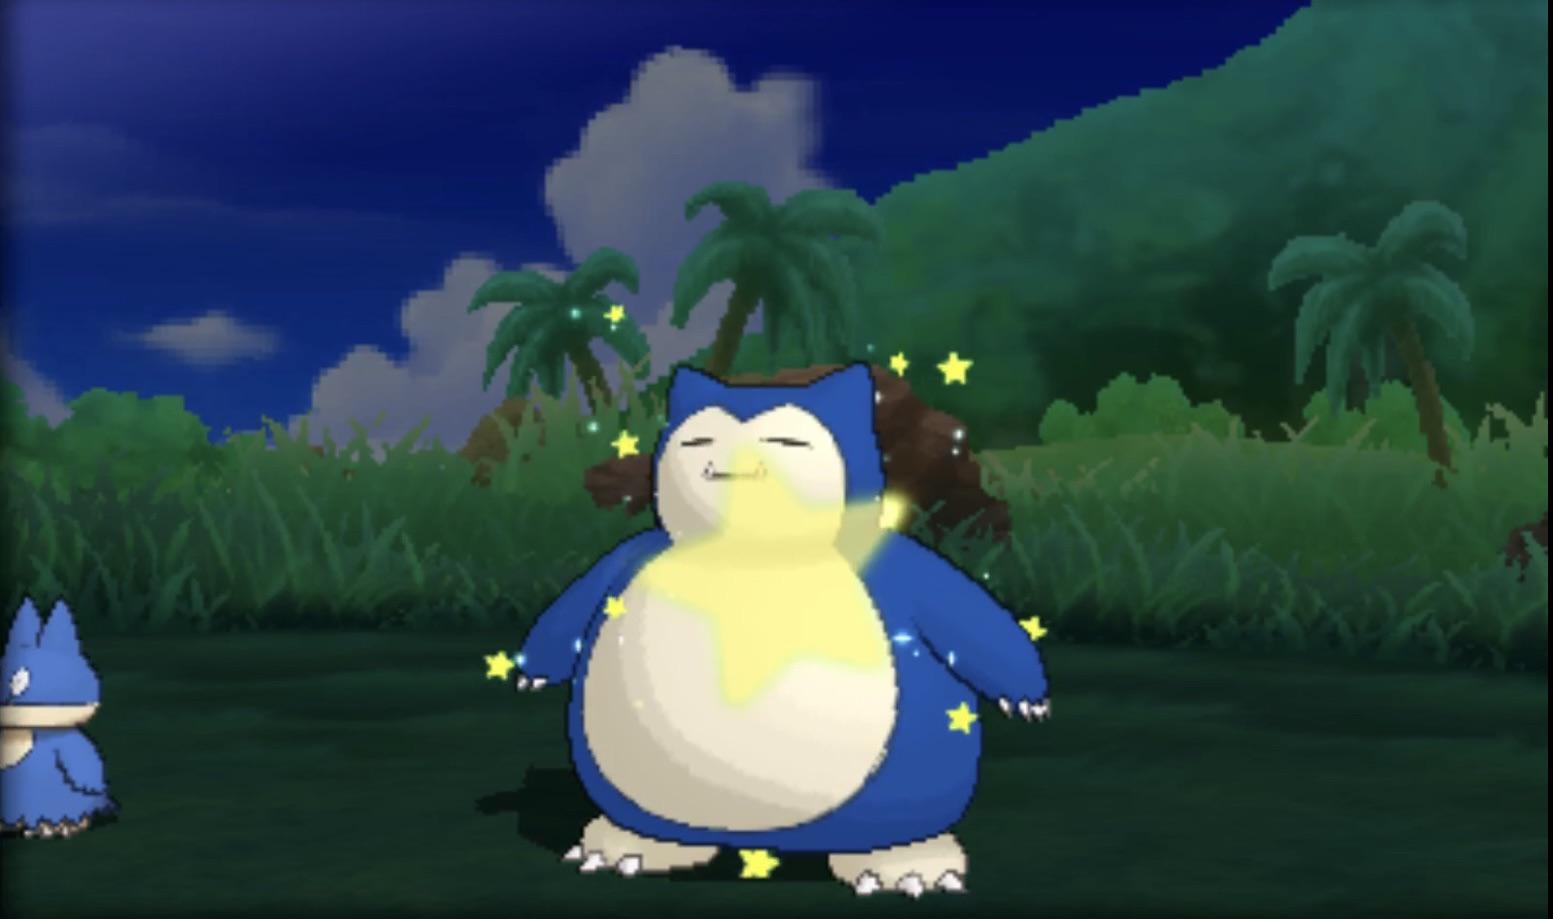
Finding a good sprite sheet for Snorlax was the next hurdle. I used the sprite of snorlax and shiny snorlax from the web.I found a decent one that wasn’t too complicated. Then came the tedious part: placing each tiny bead onto the pegboard, following the pattern. Honestly, it’s kind of relaxing, like a weird, plastic meditation.
- Regular Snorlax Colors:
- Lots of dark teal for the body.
- Cream/beige for the belly and face.
- Black for the eyes and claws.
- Shiny Snorlax Colors:
- Deep blue where the regular one is teal.
- The belly and face stay the same cream/beige.
- Black for the eyes and claws.
It took a few hours, and my back started to ache, but I got both Snorlaxes (regular and shiny) laid out. The shiny one was definitely looking cooler with that deep blue.
Ironing and the Moment of Truth
This is the scary part. You put this special paper over your carefully placed beads, and then you iron it. The heat melts the beads together, hopefully creating a solid piece. But if you iron too much, you can ruin the whole thing. It’s a delicate balance.
I carefully ironed both Snorlaxes, taking my time and checking frequently. I let them cool completely, then peeled them off the pegboard. Success! They held together!
The Final Result
They weren’t perfect. A few beads here and there didn’t melt quite right, but overall, I was super happy with how they turned out. I had my own little pixel-art shiny Snorlax (and a regular one, too).
It was a fun little project, and it reminded me how much I enjoy making things with my hands. Maybe I’ll tackle another Pokemon next time. Any suggestions?
