")
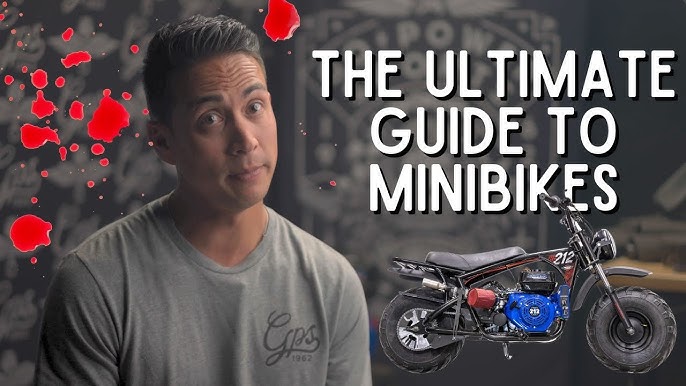
Okay, so I’ve been wanting to build something cool for a while, and I finally decided to tackle a mini chopper bike. I’d seen some pictures online, and it looked like a fun, achievable project. I’m no master mechanic, but I’m pretty handy with tools and figured I could wing it.
Getting Started
First thing I did was hit up some local scrapyards. I was on the hunt for a small engine, ideally from an old lawnmower or something. I finally found one that looked like it was in decent shape – a little rusty, but nothing I couldn’t handle. Paid a few bucks for it and hauled it back to my garage.
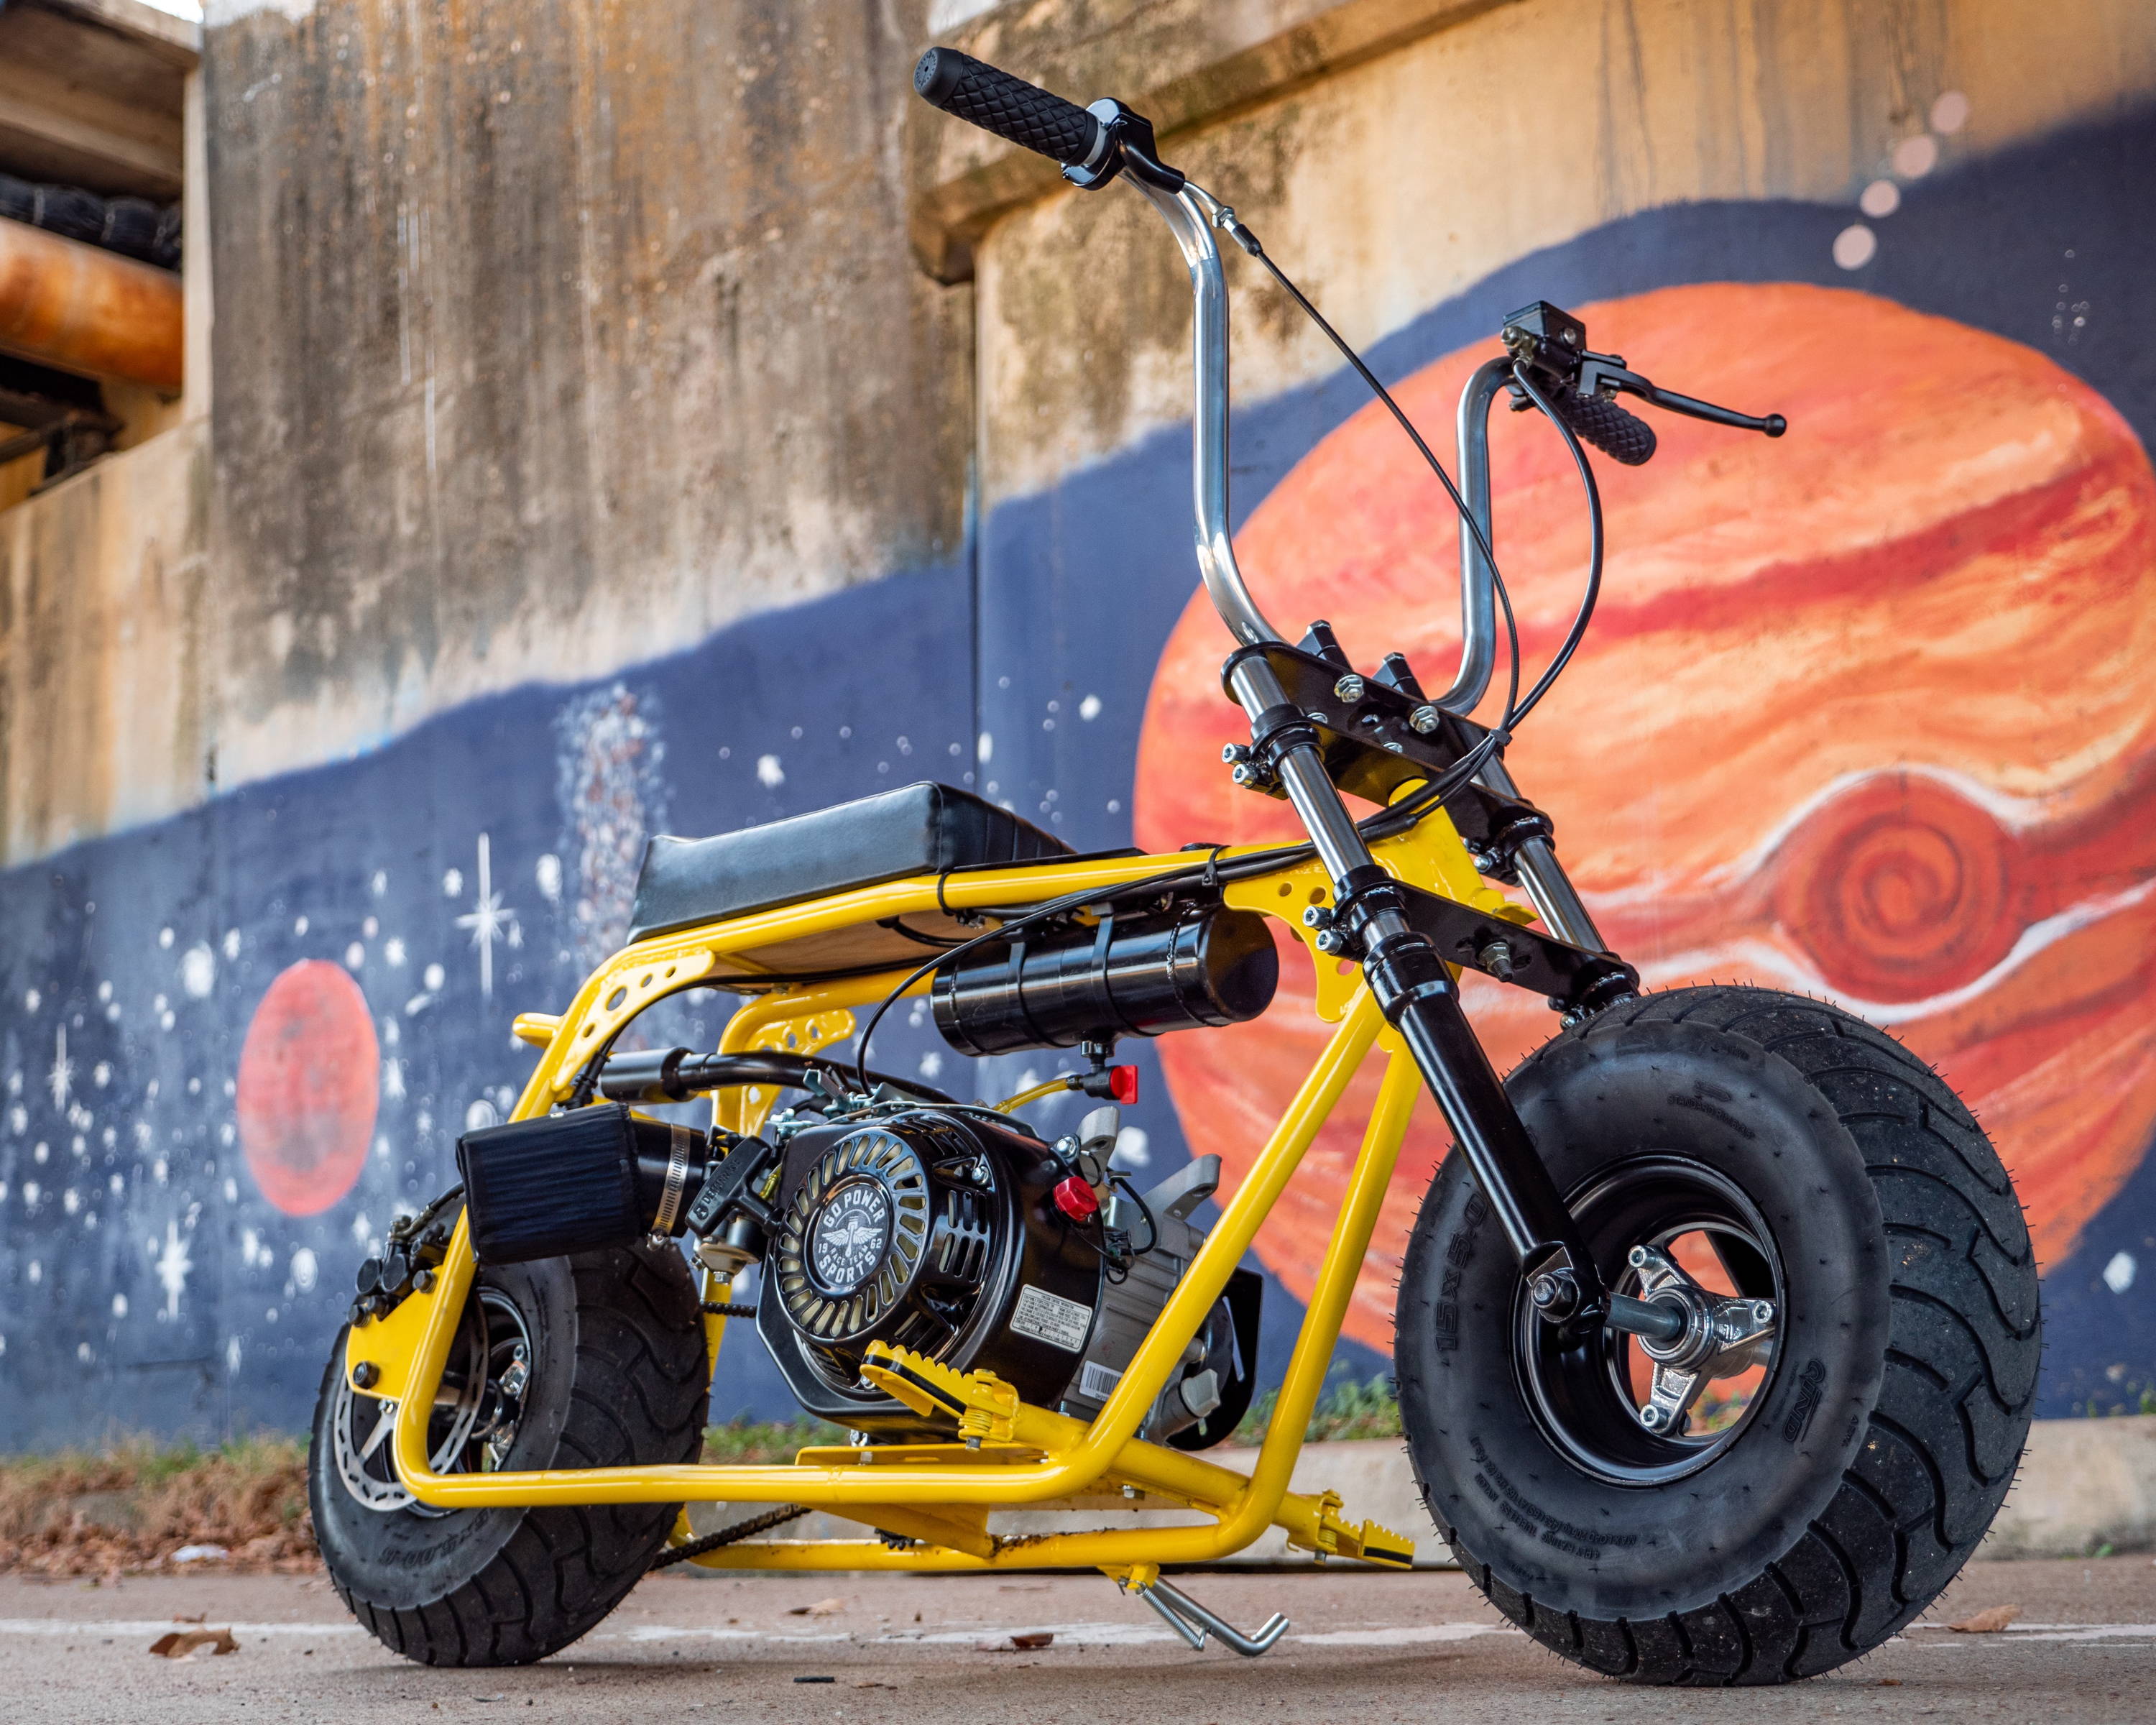
The Frame
Next up was the frame. I didn’t want to get too fancy with welding, so I decided to use some old bicycle parts. I found a couple of kid’s bikes at a garage sale – super cheap – and started chopping them up. I basically used the front forks and handlebars from one, and the rear part of the frame from another. It took some creative cutting and bolting, but I managed to get a basic frame shape that looked kinda like a chopper.
Putting It Together
This is where things got a bit tricky. I had to figure out how to mount the engine to the frame. I used some scrap metal pieces and a whole lot of bolts to make a sturdy engine mount. I’m pretty sure it’s over-engineered, but hey, better safe than sorry, right?
Then came the chain and sprocket setup. I scrounged some sprockets from the old bikes and found a chain that would fit. Getting the alignment right took some fiddling, but I eventually got it to where the chain ran smoothly without slipping.
Wheels and Brakes
For wheels, I decided to use the ones that came with the kid’s bikes. They were a little small, but I figured they’d work for a mini chopper. I didn’t bother with fancy brakes – just a simple coaster brake on the rear wheel. It’s not like I’m gonna be breaking any speed records on this thing.
The Final Touches
- Seat: I used a piece of plywood and some foam padding to make a basic seat. Covered it with some old vinyl I had lying around.
- Gas Tank: I found a small plastic gas can that fit perfectly behind the seat. Hooked it up to the engine with some fuel line.
- Throttle: I used a simple twist-grip throttle from one of the bikes.
Firing It Up!
After a few days of tinkering, I finally got everything hooked up and ready to go. I filled the tank with gas, gave the engine a few pulls, and it sputtered to life! It was a bit loud and smoky, but hey, it ran!
I took it for a spin around my backyard, and it was a blast! It’s definitely not the prettiest thing, and it’s a bit wobbly, but it’s my mini chopper, and I built it myself. I’m already thinking about my next project – maybe a go-kart?