
Okay, yesterday I fought with this old Honda’s alternator bolt – thing was stripped to hell and back. That’s when I remembered I’d bought this set of triple-square bits ages ago and never really used ’em properly. Figured it was time to stop guessing and figure them out for good. Here’s exactly what went down:
Step 1: Actually Recognizing I Needed the Damn Thing
Right? I was sitting there with my standard hex bits, trying to muscle out this stubborn bolt head, and it just kept slipping, making everything worse. I wiped the grime off the bolt head with my thumb – and yep, under the crud, it wasn’t a hex shape. It was definitely a three-pointed star shape. Had that “oh crap” moment realizing I needed the triple-square bit sitting unused in my toolbox all this time. Double-checked the bolt head against the markings on the bit holder – matched up perfectly. No way standard Allen keys were gonna work here.
Step 2: Hunting Down the Right Size (No Guesswork!)
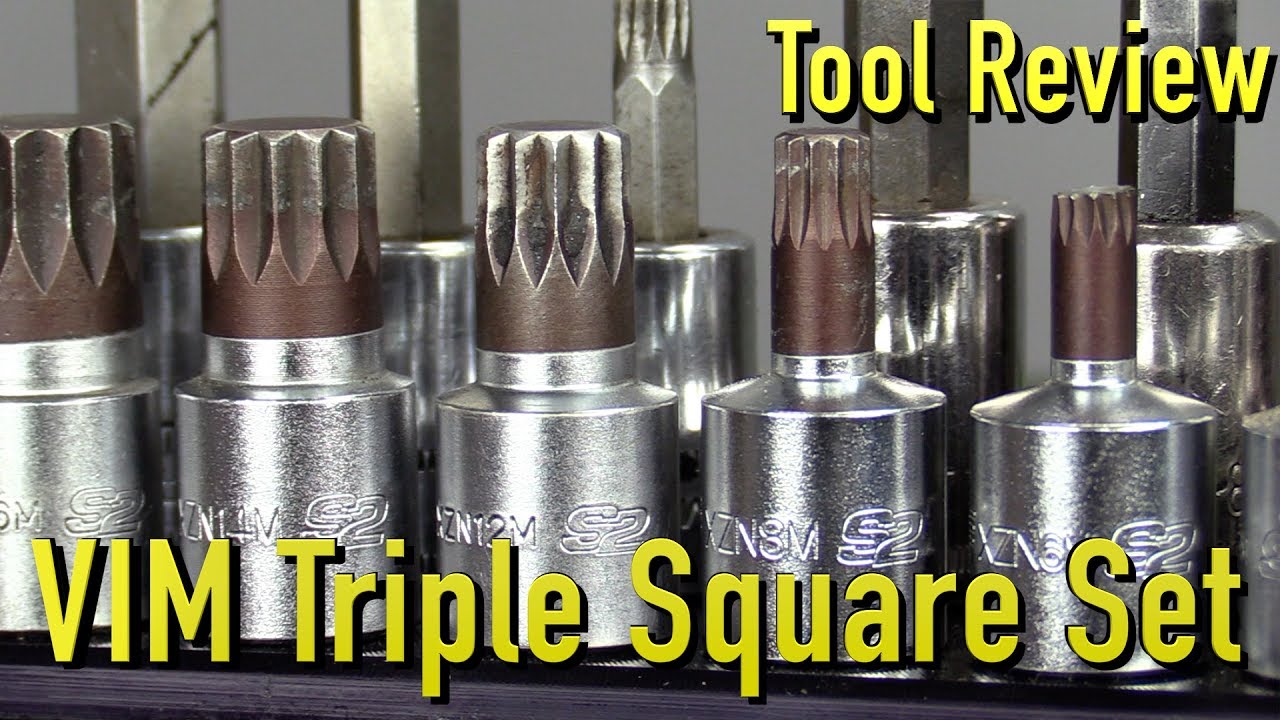
Here’s where folks mess up. I dumped out the entire bit set onto my workbench. The sizes are usually metric (M4, M6, etc.), sometimes stamped on the side. The bolt head looked like a common medium size. I grabbed a few sizes likely to fit – M8, M10, M12 – and physically tried fitting them snugly into the bolt head. The M10 slid in clean, no wobble, no forcing it. That was the winner. Using even a slightly undersized bit guarantees stripping. Snug fit is non-negotiable. Didn’t waste time forcing the wrong one.
Step 3: Getting That Bit Locked in Solid
I grabbed my trusty 3/8″ drive ratchet handle. Popped the M10 triple-square bit into a good quality impact-rated socket adapter. I made sure it clicked in place firmly – you gotta hear or feel that positive engagement. Gave it a tiny wiggle; zero play. This bit can’t tilt or move in the bolt head, or it strips immediately. Seriously, a floppy adapter is your enemy. Then attached it tightly onto the ratchet. Securing the connection points is half the battle.
Step 4: Applying Muscle (The Right Way)
This was the critical part. I lined up the socket, adapter, and ratchet as straight as possible with the bolt. Key move: pushed down hard on the back of the ratchet handle with my free hand while turning slowly. Kept constant, heavy pressure straight into the bolt head. Didn’t let up the pushing force even while turning. This downward pressure is THE secret sauce – it stops the bit from popping out and chewing up the soft corners of the triple-square hole. Applied steady pressure and felt the initial satisfying crack as it broke free.
Step 5: Using Leverage Wisely
Even after breaking it loose, the bolt was stubborn and needed more oomph. My short ratchet wasn’t cutting it. Instead of heaving and risking slipping, I grabbed my cheater pipe – just a foot-long section of old water pipe that slides perfectly over the ratchet handle. Slid it on, applied that same solid downward push, and used the longer handle for easy, smooth leverage. Easy does it! Cranking it hard without the cheater bar would’ve been asking for trouble. Slowly turned until the bolt came out clean.
Success! That alternator bolt finally surrendered. The difference was night and day compared to butchering it with a hex bit. Taking those extra seconds to match the bit perfectly, lock it in tight, and really push down made all the difference. My takeaway? Don’t avoid these bits – just respect the process: Find the exact size, lock everything down rock solid, and push like you mean it while turning. Saves your bolts and your sanity.