")
Alright, so I’ve been meaning to share my journey with moto carriers for a while now. It’s one of those things you don’t think much about until you absolutely need one, and then, well, you learn a few things, sometimes the hard way. That was me, for sure.
When The Need Struck
It all kicked off a few years back. I’d just sold my trusty old pickup truck – sad to see it go, but it was time. Then, almost immediately, I stumbled upon a deal for an old project bike I just couldn’t pass up. The catch? It was a non-runner, and it was sitting a good hundred miles away. My daily driver at the time was an SUV, not exactly ideal for hauling bikes. Renting a trailer every time I needed to move a bike? Seemed like a pain in the wallet and just a general faff.
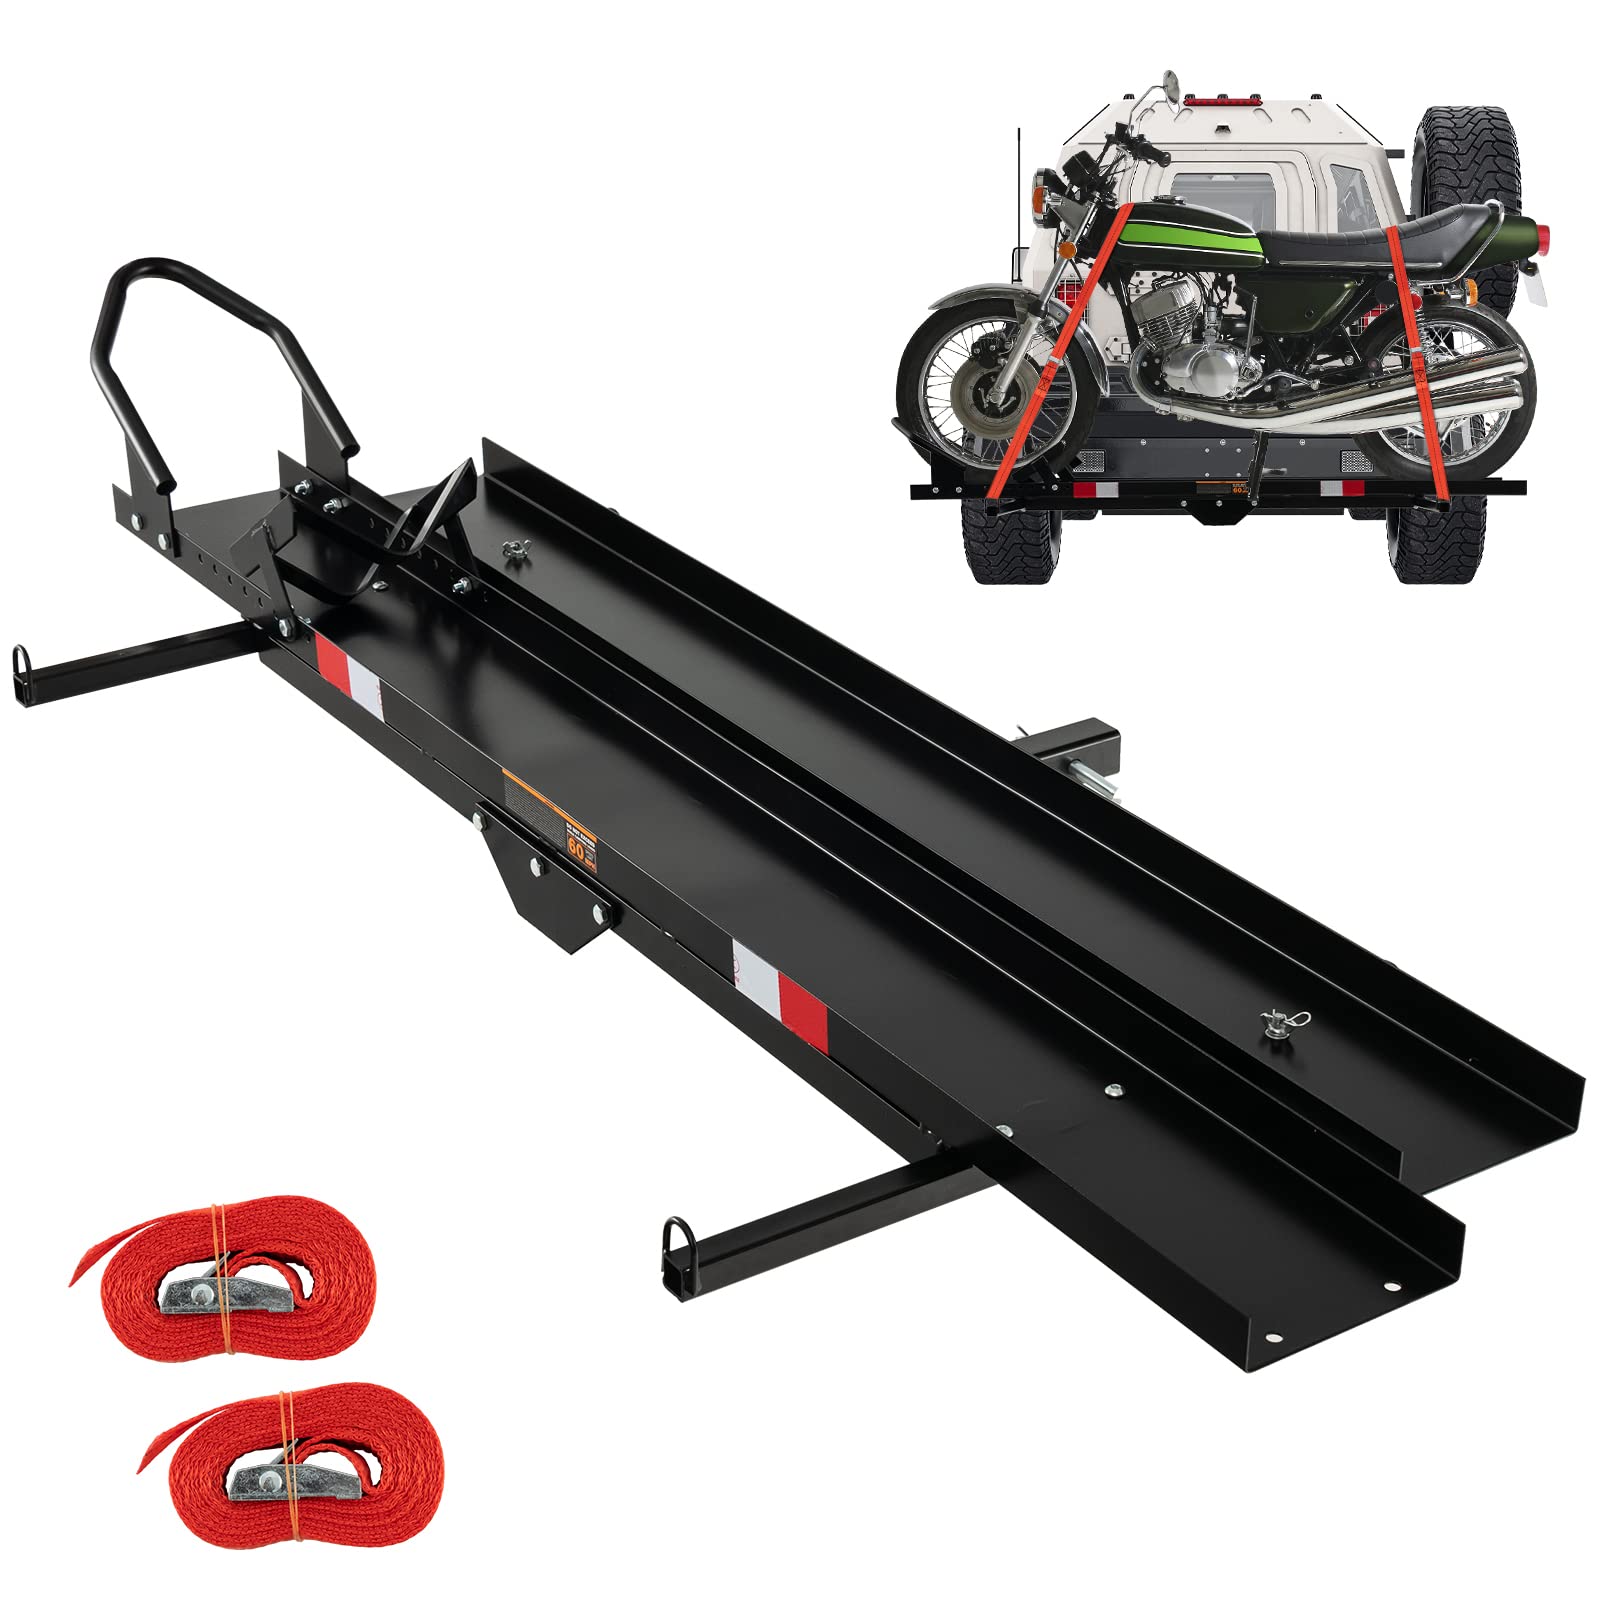
So, I started looking into moto carriers. Seemed like a neat solution, right? Slap it on the hitch, load the bike, and off you go. Easy peasy.
My First (and Almost Last) Carrier Experience
Naturally, I hit the internet. Found a carrier that was, let’s say, “attractively priced.” Super cheap. The pictures looked okay, and I figured, how bad could it be? It’s just some metal to hold a bike. Oh, boy. That was my first mistake.
The thing arrived, and the box looked like it had been kicked all the way from the factory. Pulling out the parts, the “instructions” were a joke – a single sheet of paper with blurry diagrams. It took me the better part of an afternoon wrestling with it in the garage, trying to get all the bolts to line up. The metal felt thin, the welds looked suspect. But, I got it together, eventually.
So, I drove out to pick up the project bike. Getting it onto that carrier was a bit of a struggle, felt wobbly from the get-go. I strapped it down with about a dozen straps, trying to make it as secure as possible. I was nervous, really nervous.
Not even ten miles into the drive home, I started hearing this weird creaking noise. Then a clunk. I pulled over onto the shoulder, heart pounding. The carrier was visibly sagging, and the bike was leaning at a terrifying angle. One of the main support bolts was actually bending! I swear, if I’d hit a decent pothole, that bike would have been a goner, and maybe caused a nasty accident too. Managed to limp it to a nearby gas station, found a guy with a proper trailer who helped me out for some cash. Lesson learned, the hard way.
Wising Up and Doing It Right
That whole ordeal scared me straight. I wasn’t going to mess around with cheap junk anymore when it came to hauling my bikes. So, I actually started doing some proper research. I talked to a few buddies who are always trailering bikes around, guys who’ve been doing it for years. They all pretty much laughed when I told them about my cheap carrier adventure and said, “Yeah, don’t do that.”
This time, I looked at reputable brands, paid attention to weight ratings (both for the carrier and what my SUV’s hitch could handle – super important!), and really scrutinized the construction. I ended up spending significantly more, but the difference was like night and day. This new carrier was built like a tank. Thick steel, clean welds, quality hardware. Putting it together was a breeze, and it just felt solid.
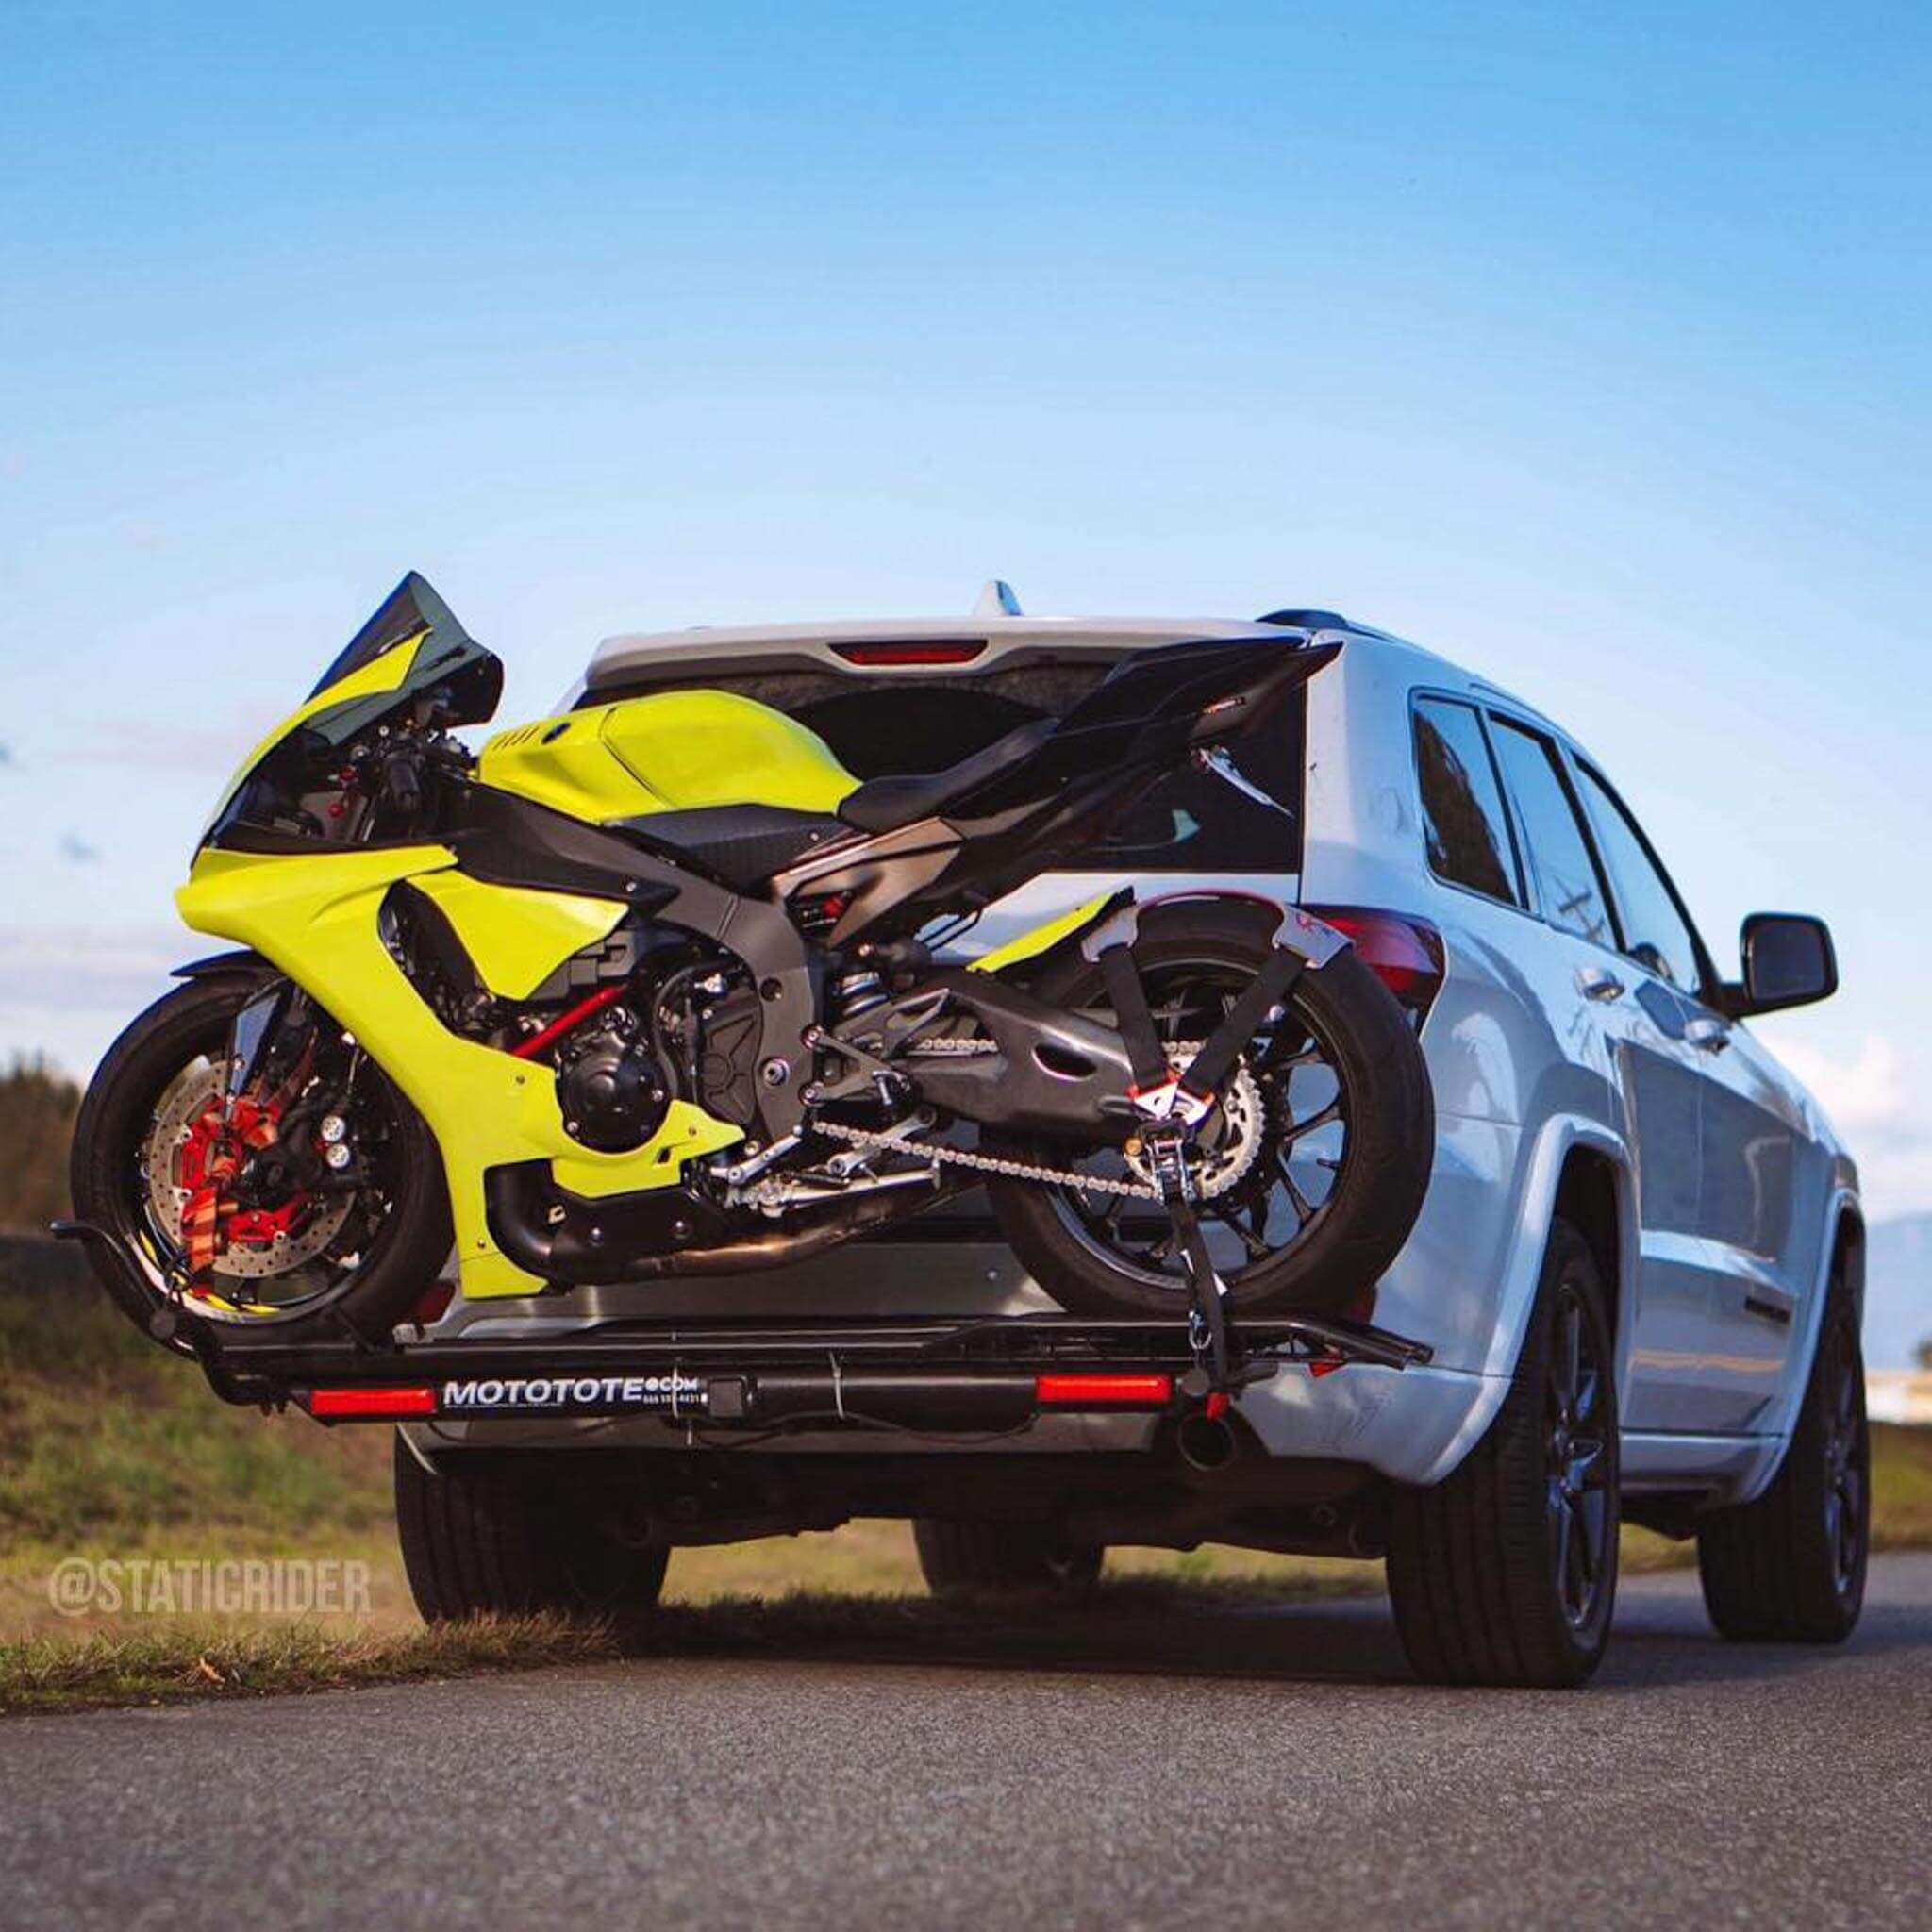
Loading the bike onto the new carrier was still something I preferred to do with a helper, just to be safe, but once it was on and strapped down with good quality tie-downs, it didn’t move an inch. I made that hundred-mile trip, and several more after that with different bikes, without a single moment of anxiety. It just worked.
What I Figured Out Along The Way
So, if you’re in the market for a moto carrier, learn from my screw-up. Here’s what I tell everyone now:
- Don’t cheap out. Seriously, your bike is worth more than the few bucks you might save on a flimsy carrier. Think of it as insurance.
- Know your weights. Your bike’s weight, the carrier’s own weight, and your vehicle’s tongue weight capacity. Don’t overload your hitch.
- Look at the build. Is it solid steel? Are the welds clean and strong? Does the hardware look like it can take some stress?
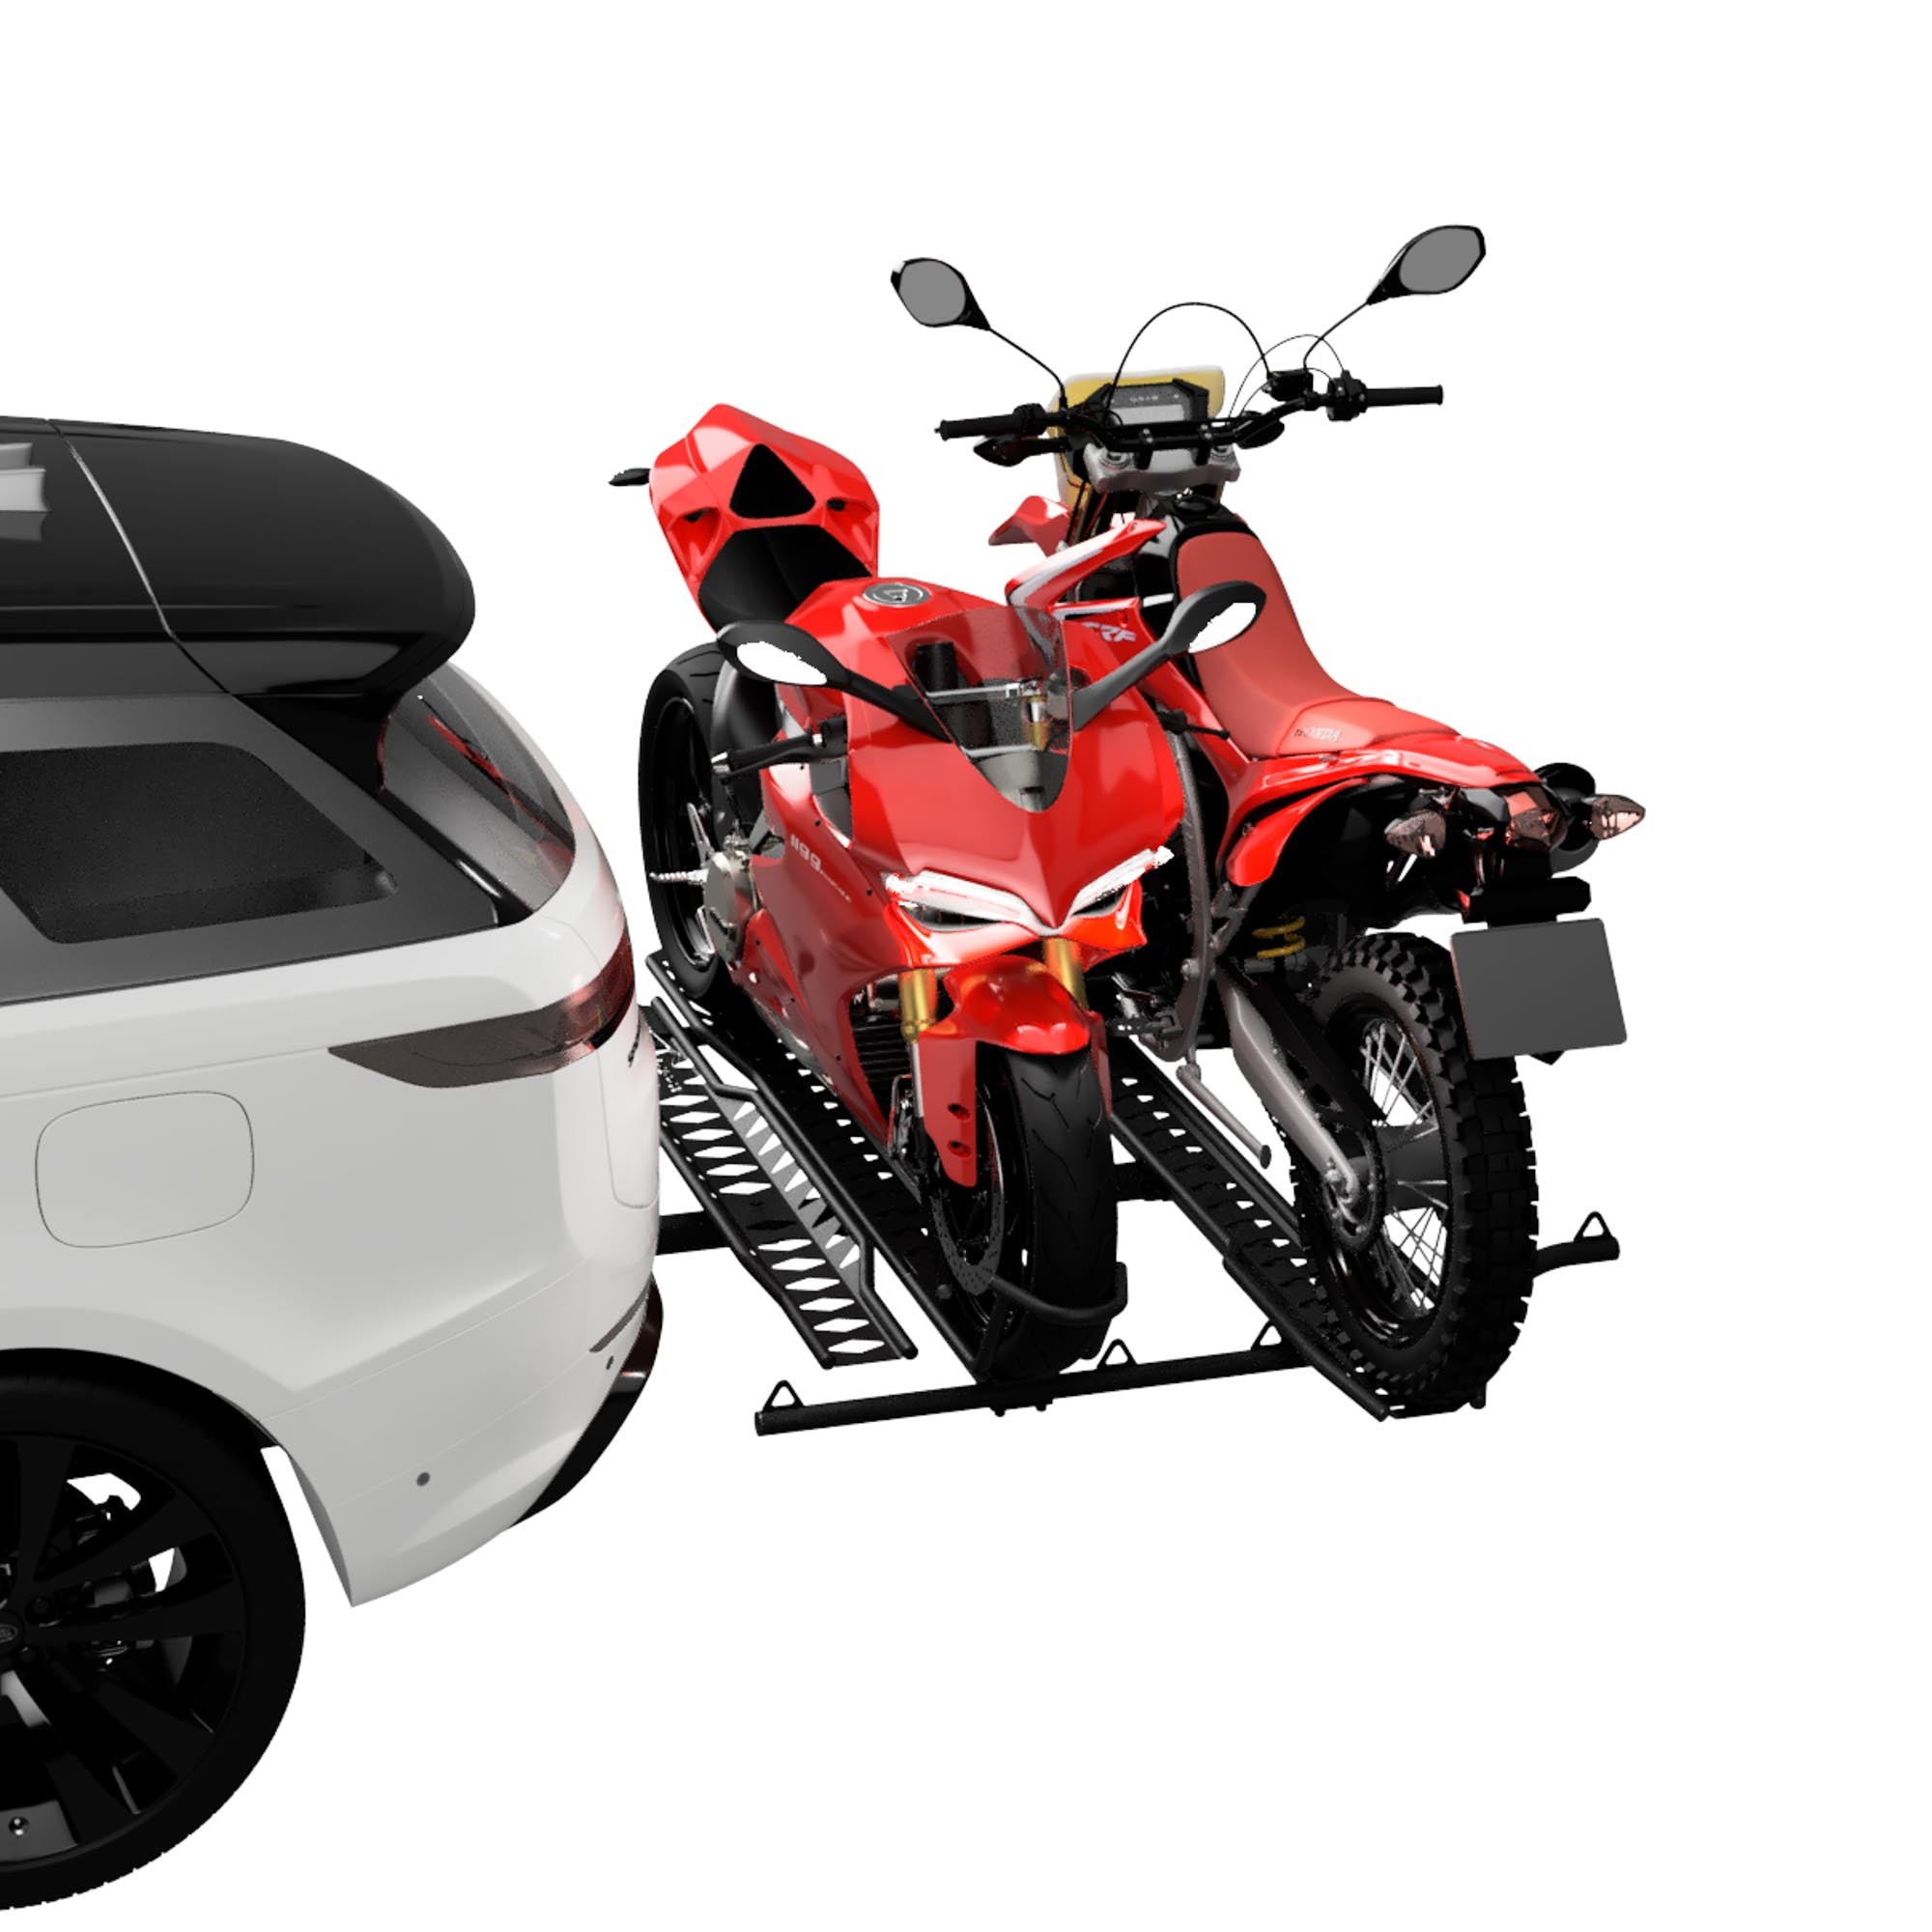
- Strapping is an art. Get good quality ratchet straps or cam buckle straps. Learn how to use them to create a secure, balanced load. Four points of contact, minimum. Check ’em often on long trips.
- Practice loading and unloading. Do it a few times in your driveway before you hit the road. Get a feel for it. A ramp is your friend.
It’s not complicated stuff, really. Just takes a bit of common sense and being willing to invest in decent gear. Trust me, it makes all the difference between a stress-free trip and a potential roadside disaster. I’ve been there, done that, and thankfully didn’t lose a bike in the process, but it was a close call!