
Okay, here’s my blog post about making a backpack for bikers, written in a casual, first-person style:
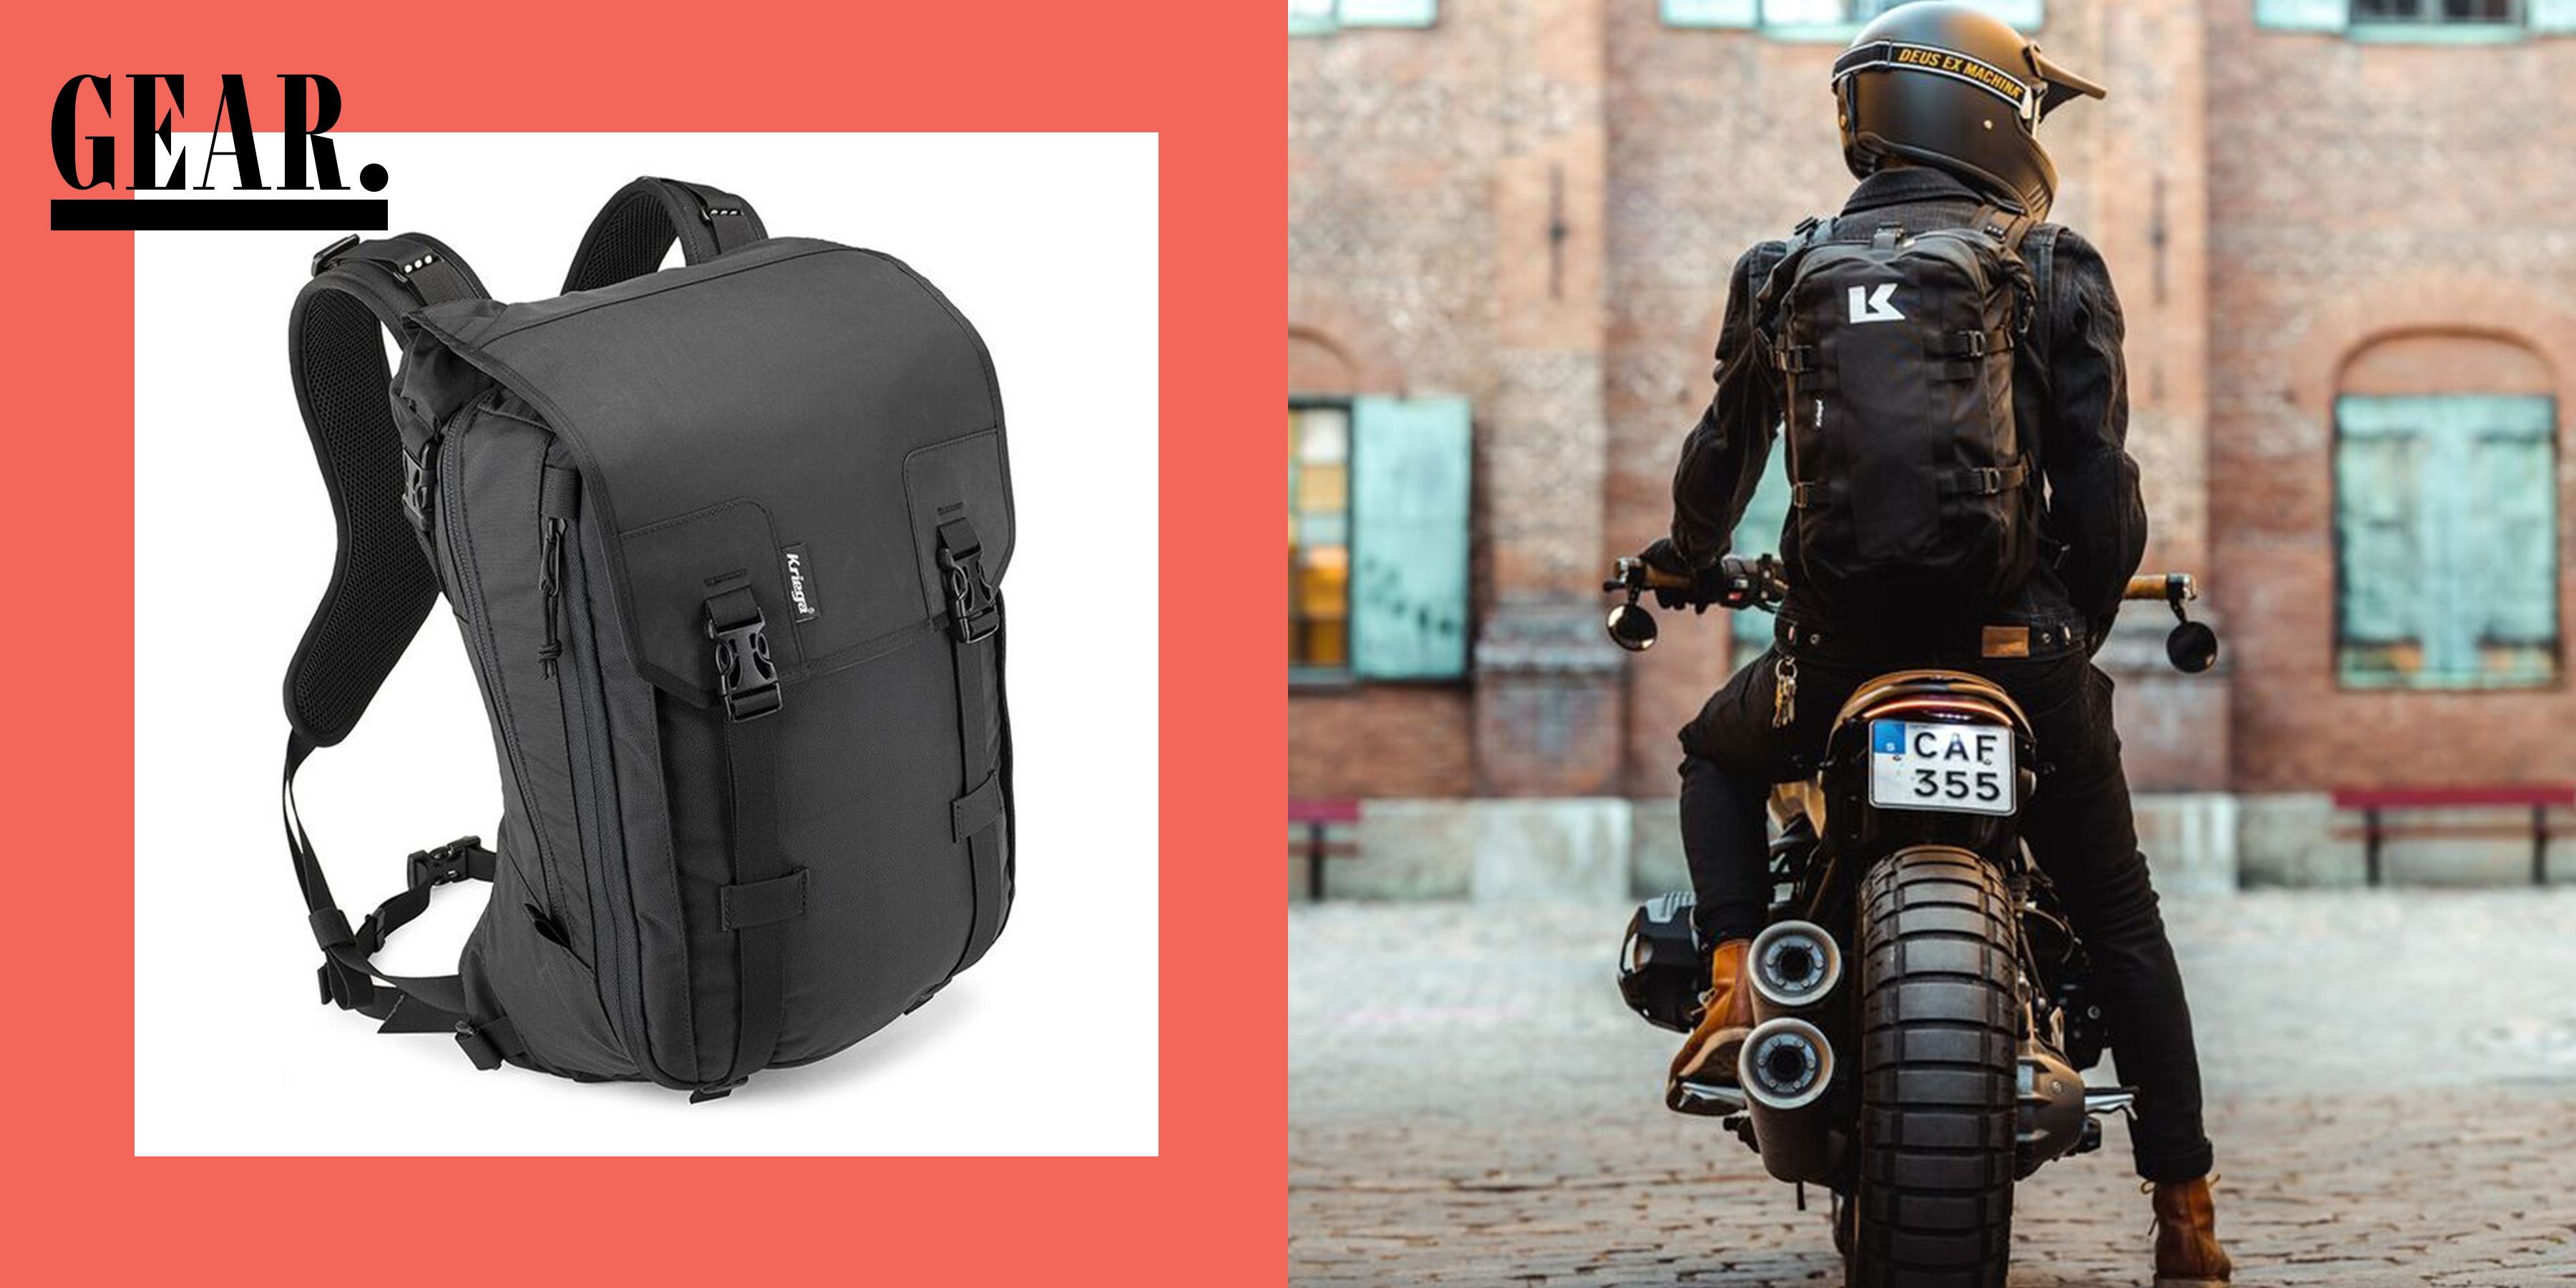
So, I’ve been biking to work more lately, and my old backpack was just not cutting it. It was bulky, bounced around like crazy, and made my back super sweaty. I needed something streamlined, secure, and, ideally, kinda stylish. I decided to take matters into my own hands and make my own!
Getting Started
First, I brainstormed what I really needed. It had to be big enough for my laptop, lunch, and a change of clothes, but not so big that it felt like I was carrying a turtle shell. Water resistance was a must, because, you know, rain happens. And good ventilation was crucial to avoid that swamp-back feeling.
Next up, I gathered my materials. I found some durable, water-resistant fabric at a local store – it’s kinda like the stuff they use for outdoor gear. I also picked up some heavy-duty zippers, buckles, and webbing. For padding, I used some foam I had leftover from another project. Think of it as upcycling!
The Messy Middle
- I started by sketching out a rough design. Nothing fancy, just basic shapes to get an idea of the size and compartments.
- Then, I cut out the fabric pieces, making sure to add extra seam allowance.
I have done the measure job, you know.
- I pinned everything together, inside out, and started sewing. This part took the longest, and there were definitely a few moments where I questioned my life choices.
I also get some help from videos.
- My sewing machine is old, and I had to re-thread it like a million times.
- Once the main body was done, I added the pockets and compartments. I made a padded laptop sleeve and a separate section for my shoes, ’cause nobody wants stinky shoes next to their lunch.
- I also added a small, zippered pocket on the outside for my keys and phone,I think this is super convenient.
Finishing Touches
After all the sewing was done, I attached the straps and buckles.
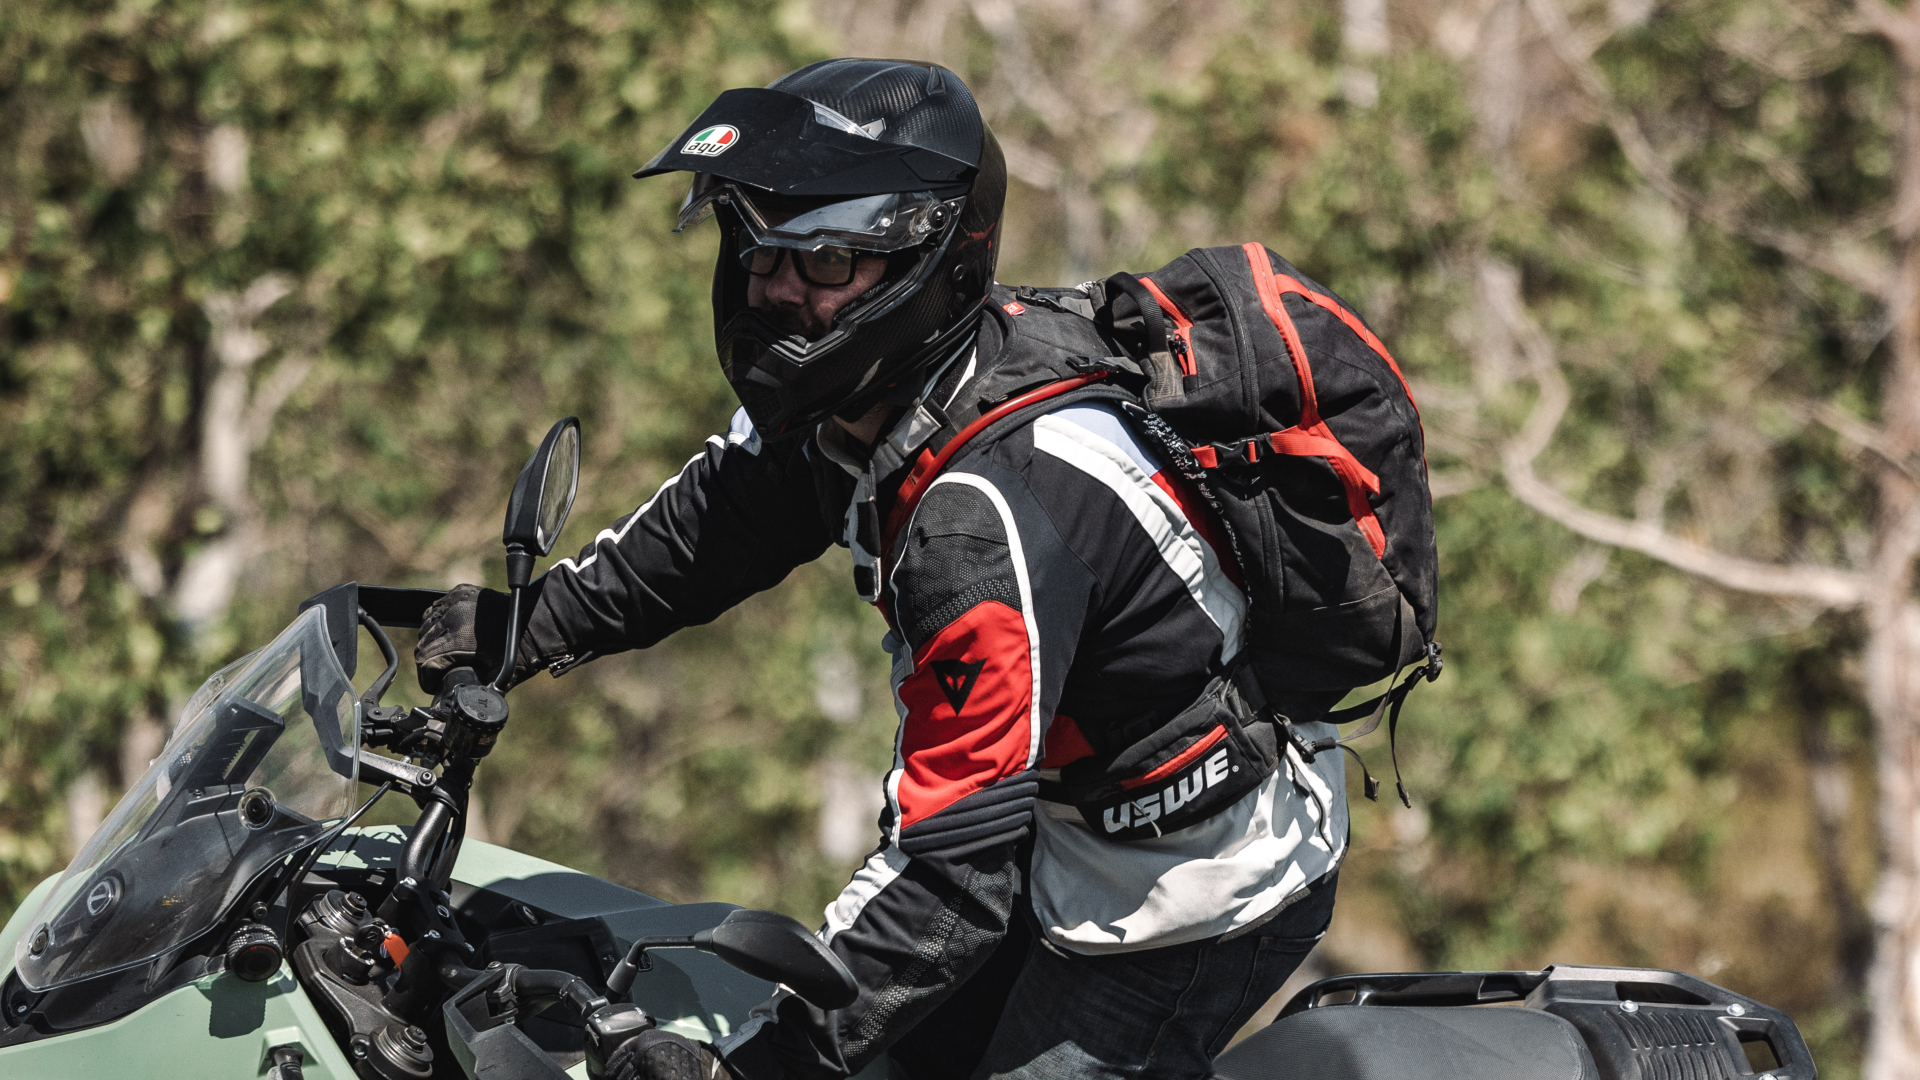
I used adjustable webbing so I could get the fit just right. For extra comfort, I added some padding to the shoulder straps and the back panel. This was key for making it comfortable to wear, even when it’s fully loaded.
I also added some reflective strips to the outside for extra visibility at night.
Then check the details and do some minor * first!
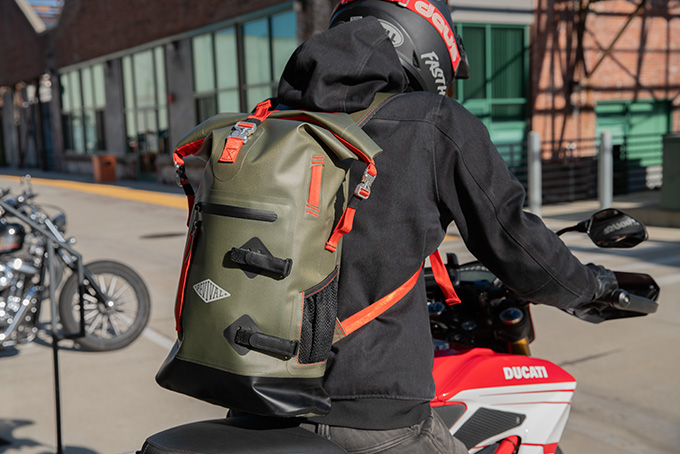
The final step was to test it out! I loaded it up with all my stuff and took it for a spin. It felt great! The weight was evenly distributed, and it didn’t bounce around at all. Plus, my back stayed surprisingly dry, thanks to the breathable mesh panel.
All done! It is really amazing!
Honestly, it turned out way better than I expected. It’s not perfect, but it’s mine, and it’s exactly what I needed. If you’re thinking about making your own biker backpack, I say go for it! It’s a fun project, and you’ll end up with something totally unique and tailored to your needs. Just be prepared for a bit of a learning curve, and don’t be afraid to make mistakes. That’s how you learn, right?