So, today’s little project was all about getting a basketball court diagram done. You know, I’ve been thinking about setting up a court in my backyard for a while now. It’s not just about shooting hoops; it’s more about having a space where the kids can play and I can get some exercise in too. But before I could even think about laying down concrete or whatever, I needed a solid plan, a diagram to visualize the whole thing.

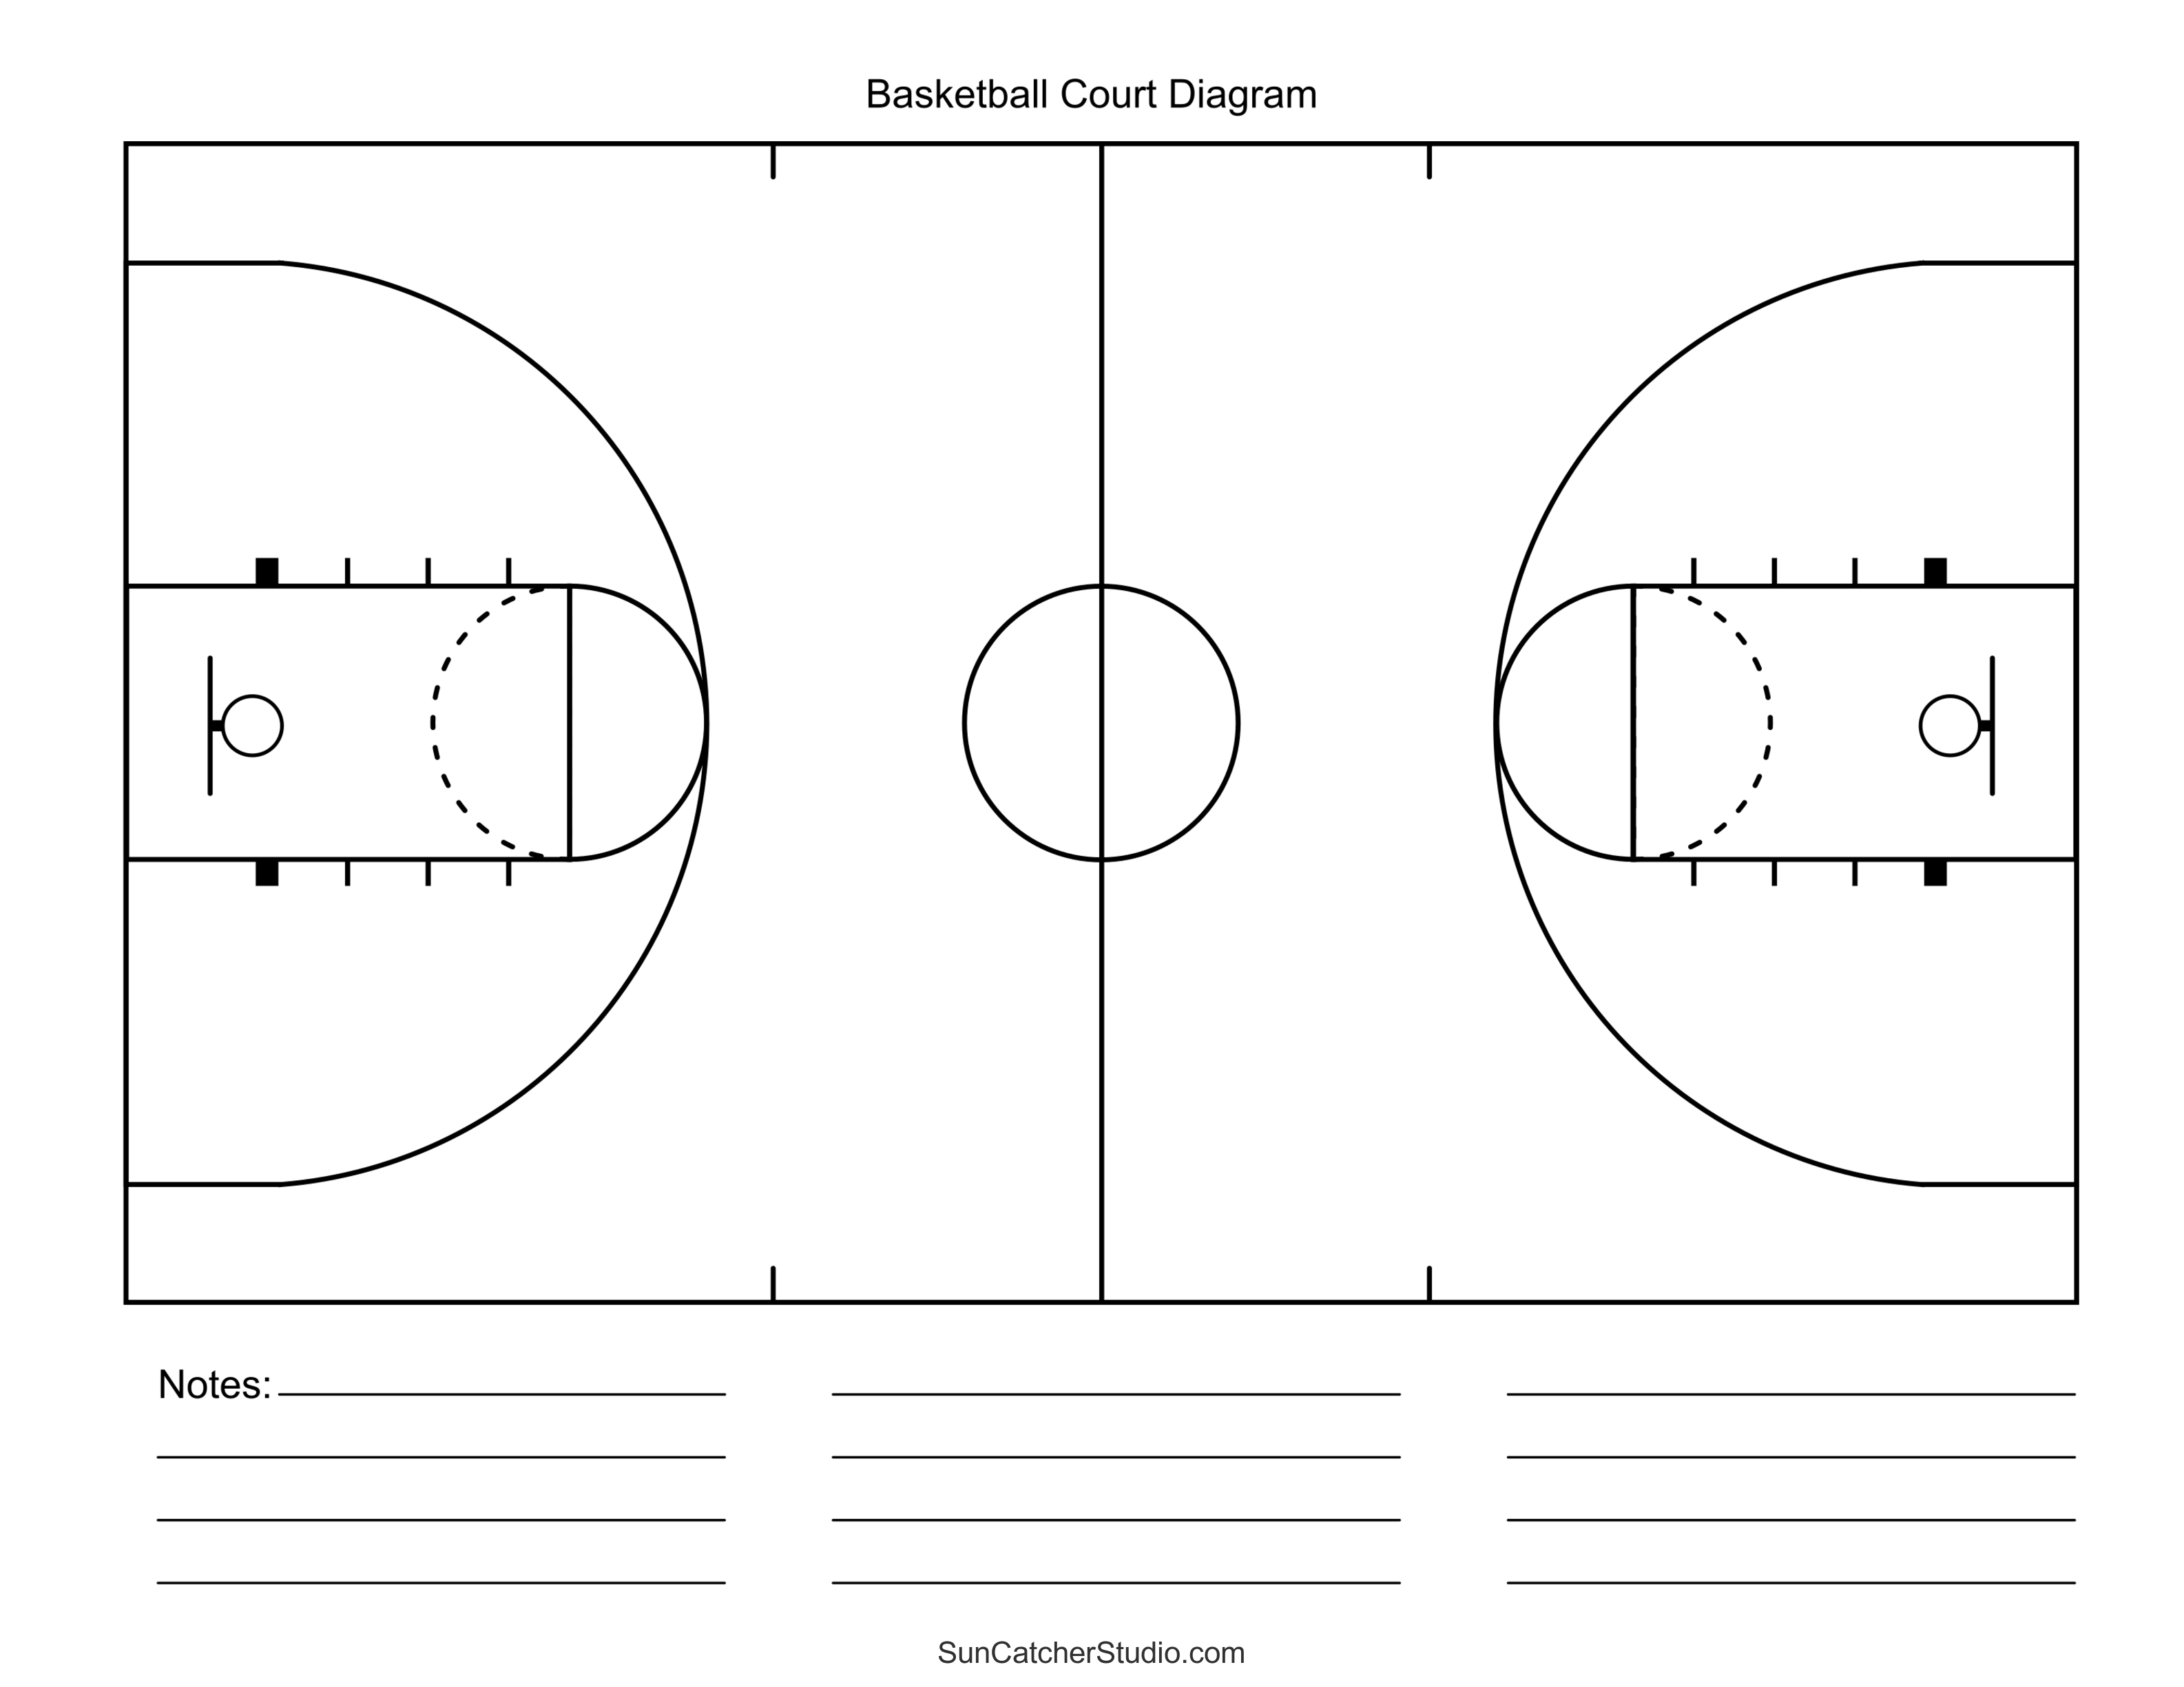
First thing I did was to jump online and look up what a standard basketball court looks like. There’s a ton of info out there. I found out that an NBA court is 94 by 50 feet, which is massive! My backyard isn’t that big, so I had to think about scaling it down. I also learned about the key parts of the court like the three-point line, the free-throw line, and all that. It’s more complicated than you’d think!
After I got a handle on the basics, I grabbed a pencil and some paper and started sketching. This was the fun part. I drew a big rectangle for the court and then started adding in all the lines and circles. I messed up a few times, erasing and redrawing, especially when it came to getting the proportions right. It’s one thing to read about the measurements but another to actually draw them out.
Key Components
- The Baskets: Obviously, you gotta have these. They’re 10 feet high, which I jotted down on my diagram.
- Three-Point Arcs: These are the big curved lines. I used a makeshift compass (a string and a pencil) to get the curve just right.
- Free-Throw Lines: These are inside the arcs, closer to the basket. I made sure to measure the distance from the baseline properly.
- Half Court Line: This one’s easy, it just cuts the court in half.
Once I was happy with the pencil sketch, I went over it with a pen to make it more permanent. Then, I decided to get a bit fancy and used some colored markers to highlight different areas. It actually turned out pretty cool, like a proper blueprint almost.
But it wasn’t just about drawing. I also had to measure my backyard to see how much space I was working with. I used a measuring tape and marked out the corners of where the court would go. It’s definitely going to be a smaller court, but that’s okay. It’ll still be great for some casual games and practice.
In the end, I had a pretty neat diagram of a basketball court, customized for my backyard. It’s not just a drawing; it’s the first step in making this little dream a reality. I felt a real sense of accomplishment, you know? Like I’d taken this vague idea and turned it into something tangible. Now, the next step is to actually start building. But that’s a whole other adventure, right?