")
Figuring Out These Shocks
Okay, so my ride was feeling kinda… off. You know? Like hitting bumps felt harsher than usual, and cornering wasn’t as smooth. Felt like the back end was doing its own thing sometimes. I figured it was time to actually mess with the shocks, something I hadn’t really done before on this bike.
Getting Started – What Am I Even Looking At?
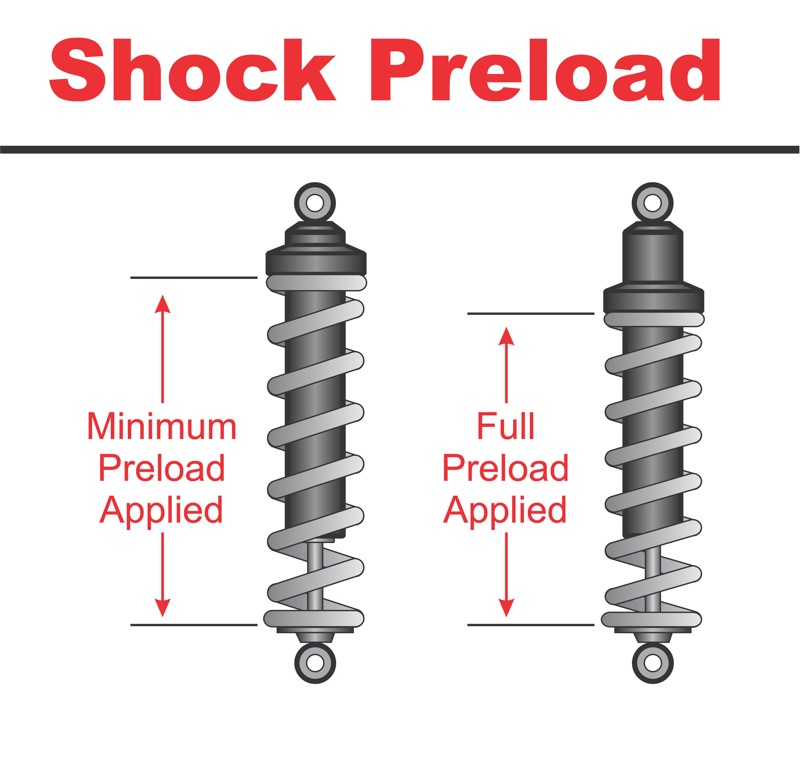
First thing, I hauled out the owner’s manual. Yeah, I know, reading the manual, right? But seriously, I needed to know what adjustments my bike even had. Mine’s pretty basic, so it looked like I mainly had preload adjustment on the rear shocks. Just those ring things you gotta turn. No fancy clickers for rebound or compression on my old beast.
Next up, tools. The manual said something about a spanner wrench. Dug through my toolkit, found the one that came with the bike. Looked kinda flimsy, but figured it’d do the job. I also grabbed a tape measure, heard you need that for checking ‘sag’ or something. Basically how much the bike squats down with you on it.
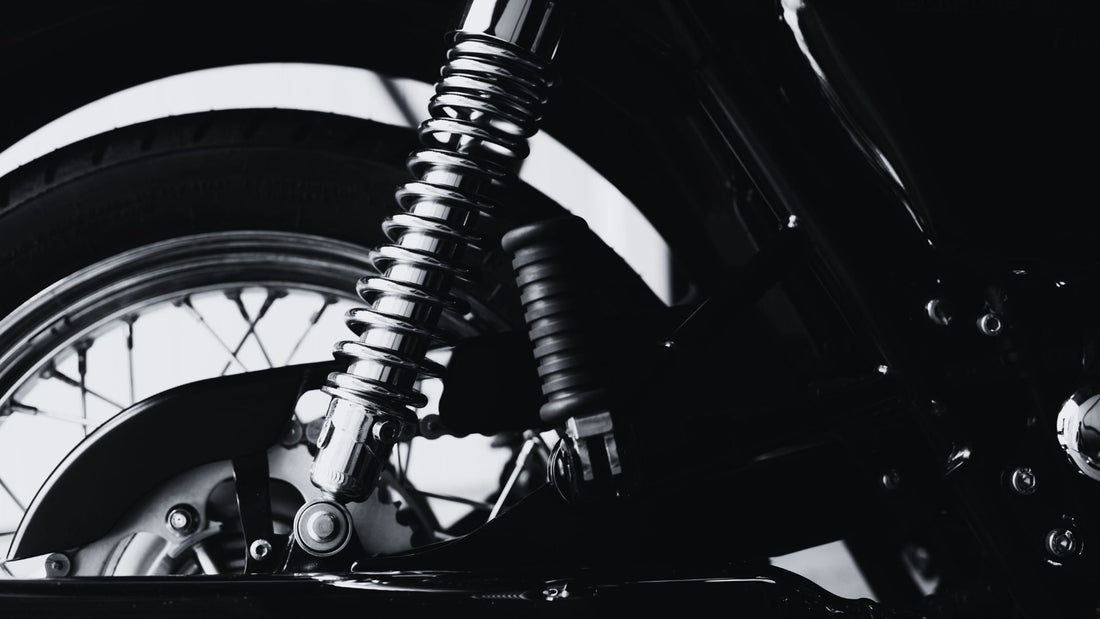
Tackling the Rear Preload
So, I put the bike up on its center stand. Made it easier to get at the shocks. Those adjuster rings were pretty stiff. The spanner wrench kept wanting to slip off. Had to put some muscle into it. Safety first, though, I wore gloves ’cause I could just see my knuckles getting busted.
I decided to increase the preload first. My thinking was, maybe it was too soft, causing that wallowing feeling. The manual had some recommended settings, but honestly, they didn’t make much sense without a baseline. So, I just marked the current position of the ring with a marker pen. That way, if I messed it up completely, I could always go back.
I turned the ring up maybe two notches clockwise. It was a bit of a guess. Then I took the bike off the stand.

Checking the ‘Sag’ Thing
This part felt a bit silly. I needed to measure how much the suspension compressed.
- First, I measured the distance between the rear axle and a point on the tail section with the suspension fully extended (bike on the stand, wheel off the ground). Wrote that number down.
- Then, I took the bike off the stand, let it settle under its own weight. Measured again. Wrote it down.
- Finally, the awkward part. Put on my riding gear – helmet, jacket, everything – and carefully sat on the bike, feet up if possible (or just lightly touching down), trying to sit naturally. Had my wife measure the same points again. Wrote that number down.
The difference between the fully extended measurement and the measurement with me on it is the ‘rider sag’. There are supposed targets for this, found some general ideas online (like maybe 30-40mm for street riding?). Mine was way more than that initially. After adjusting the preload up those two notches, it was closer to the range I read about. Still felt like guesswork, though.
Test Ride and Fine Tuning
Alright, time for the real test. Took it for a spin around my usual loop, hitting some familiar bumps and corners. It definitely felt firmer in the back. Maybe a little too firm? Hard bumps felt a bit more jolting now. The wallowing in corners was better, but it wasn’t perfect.
So, back to the garage. This time, I backed off the preload by one notch from where I’d set it. Just one notch softer than my first adjustment, but still one notch firmer than where I started.
Went for another ride. Ah, that felt better. Kind of a happy medium. It handled the bumps without being harsh, and the cornering felt more stable. It wasn’t like a brand new bike, but it was a noticeable improvement over that vague, bouncy feeling I had before.
Final Thoughts
Honestly, adjusting the shocks wasn’t as scary as I thought. It was mostly about having the right basic tool (that spanner!) and being patient. Marking the starting point was key so I didn’t get lost. And doing small adjustments, then testing, seemed like the way to go. Took a couple of tries, but the bike definitely feels more planted now. Didn’t touch the front forks this time, maybe that’s a project for another day. For now, just getting the rear preload sorted made a decent difference.