
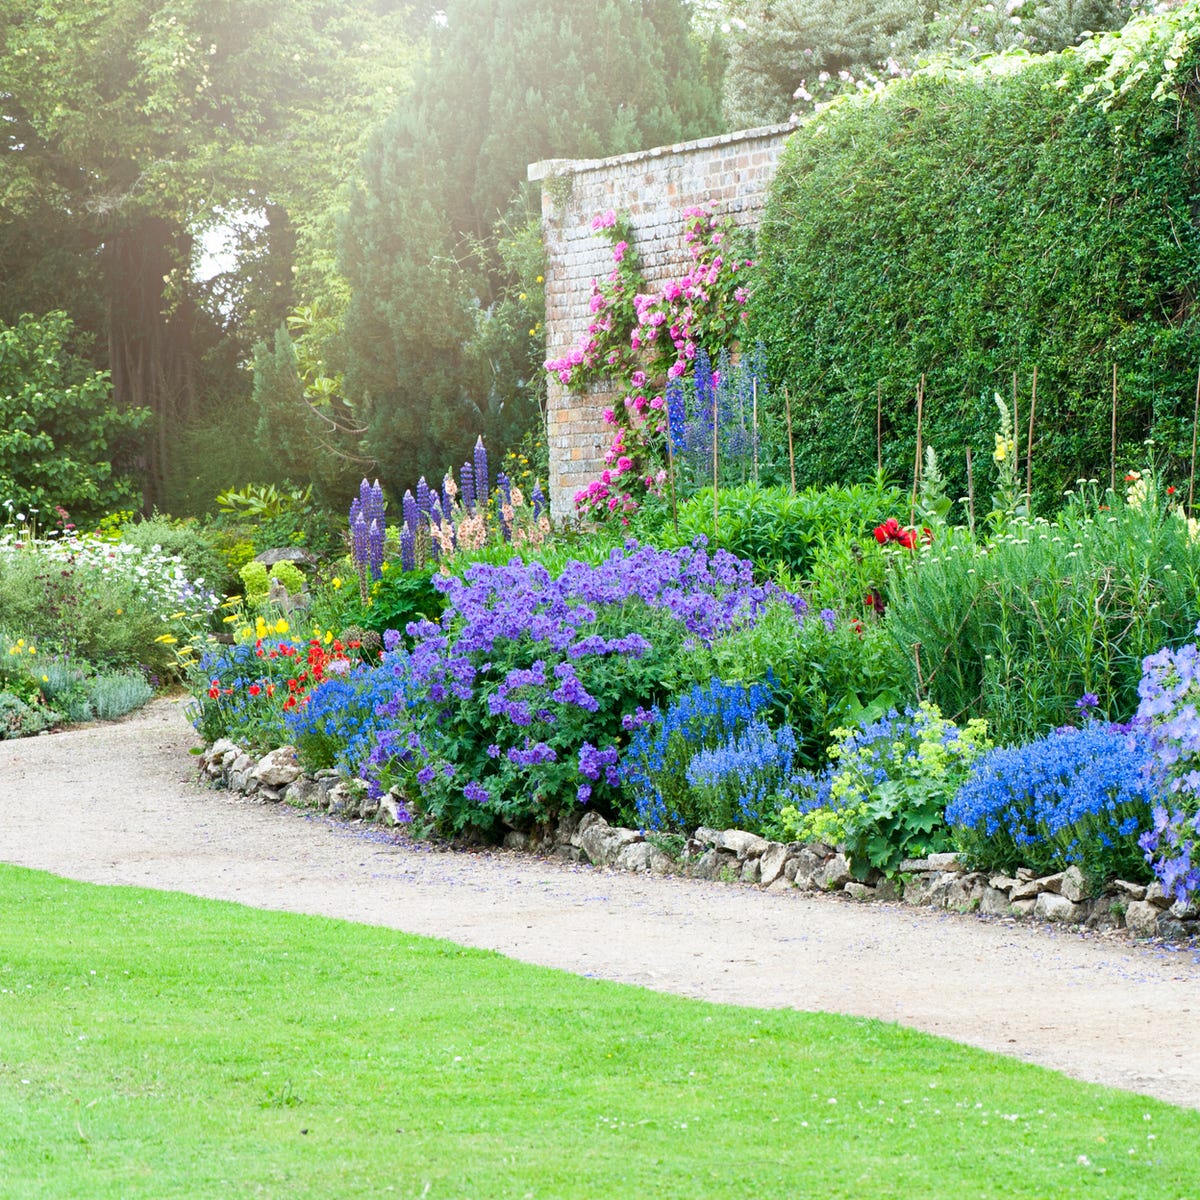
Alright, so I got around to putting in some log edging the other day. The flower bed out front was looking a bit messy, with the mulch spilling out onto the lawn. Decided logs would look nice and natural, sort of rustic.
Getting Started – The Logs
First job was getting the actual logs. Didn’t have any suitable trees to chop down myself, unfortunately. Went down to a local garden supplier, the kind that sells bulk landscaping stuff. Found some decent round logs, treated pine I think, about maybe four or five inches across. Bought a whole bunch, probably more than I needed, but better safe than sorry. Got them home in the back of the truck.
Prepping the Ground
Next, I marked out where the edging needed to go along the bed. Just used a bit of string tied between two sticks to get a reasonably straight line, though I wanted a gentle curve really. Then, the digging started. Grabbed my trusty old spade and started cutting a trench along the line. Didn’t need anything too massive, just wide enough to fit the logs comfortably and maybe half the log’s height deep. Took a bit of effort, the ground was drier than I thought.
- Marked the line
- Dug the trench (about 4-5 inches deep)
- Cleared out loose soil and roots
Cutting and Placing
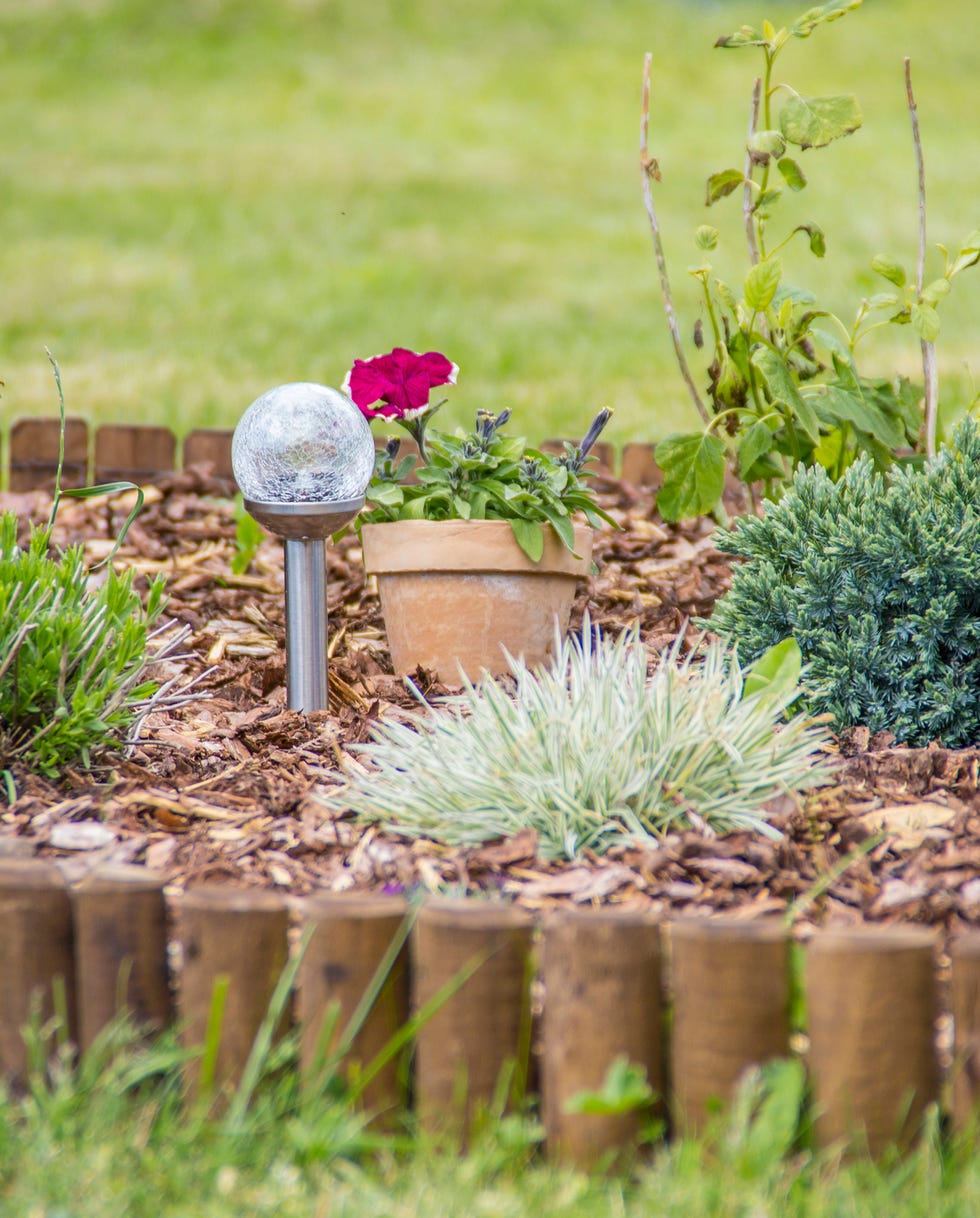
Now, the logs I bought were all different lengths, intended for other stuff maybe. So, I had to cut them down to size. Decided I wanted them sticking up about six inches or so above ground level. Measured one, marked it, and got the handsaw out. Took a while to cut through a dozen or so logs, bit of an arm workout. Tried to keep the heights fairly consistent, but perfection wasn’t the goal here.
With a pile of cut logs ready, I started placing them into the trench. Stood them upright, side by side, nice and snug. This part took some fiddling, getting them lined up and vertical. Used a small level now and then just to check they weren’t leaning too much. As I placed a few, I started packing some of the soil I dug out back into the trench around their bases. Really stamped it down with my boot to hold them firm.
Important bit: Pack that soil tightly around the bottom in the trench. You want them solid.
Finishing Touches
Worked my way along the entire length of the bed, cutting logs as needed, placing them, and packing the soil. Once they were all in, I went back along the line, checking everything felt sturdy. Added more soil where needed, both inside the bed and on the lawn side of the logs, tamping it down again. Made sure the soil level was neat against the logs.
Stepped back to have a look. Yeah, much better. It gave the bed a proper border, looks tidier, and should hold the soil and mulch in place. It wasn’t a quick job, took most of an afternoon with all the digging and sawing, but definitely worth the effort. Gives it a nice solid, natural feel. Pretty happy with how that turned out.